After validating and approving the tax return, get your client to approve it before lodgment.
You can send the return to your client
using the portal, or
send it manually by downloading a copy of the tax return and sending it via email, post, or other means.
Why use Portal?
Sending returns via portal and having your client approve via portal automatically updates the return status to Ready to lodge. Otherwise, you need to update the status manually.
You can also upload and send multiple documents to a client in bulk.
For example, if you want to send a set of financial reports with the tax return, save the reports to your computer, then attach them to the portal task when you send the tax statement.
To send a tax return via the portal, you need to have created the client portal.
Sending tax returns via client portal
In the client's Tax return that is approved, click Send to client.
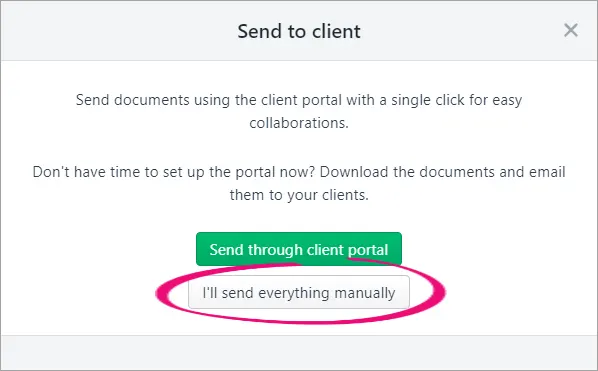
Click Send through client portal.

In the Send to the client portal window, fill in the details and click Send to client.
A task is created with the tax return attached. This task is assigned to your client in their portal. The tax return summary pdf document. is sent to the client.The status of the tax return is updated to Pending client signature.

Sending tax returns manually
On the client's Tax return page, click Send to client.
Can't see this button? Make sure the status of the return is Ready for client.
Click I'll send everything manually.
The status of the tax return changes to Pending client signature.
On the right of the tax return, click the View document (pdf) drop-down and choose Tax return
In the View tax return and schedules window, select the type of pdf you want to download:
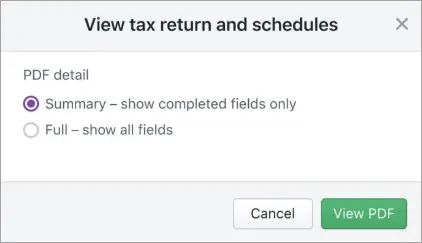
The pdf document opens in a new browser tab.
To download the tax estimate, click the View document (pdf) drop-down and choose Tax estimate. The pdf document opens in a new browser tab.
Download the pdf and attach it to an email or print and mail the tax return to your client.
Once your client signs and approves the tax return, click Client approved and signed. The tax return status changes to Lodge to ATO. You are now ready to lodge the tax return.

