Tables in forms contain transaction information such as line items or tax summary information. Different table options are available for each form type.
Let's take a look at the details:
To add a table to a form
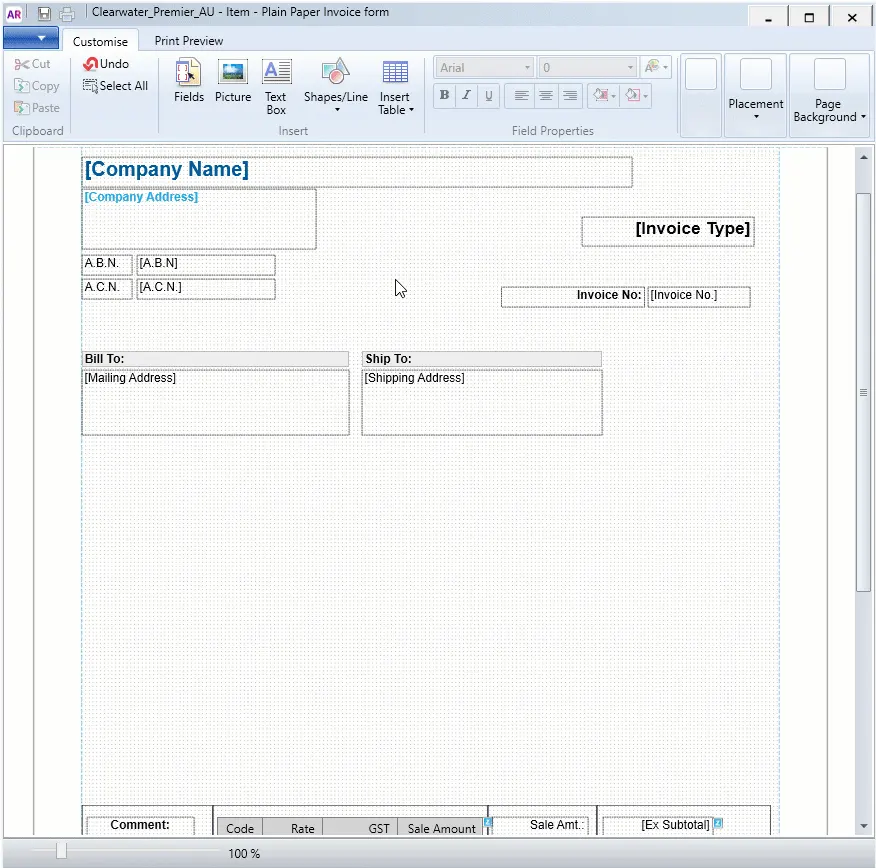
Open the form you want to add a table to (Setup menu > Customise Forms > click the form > Customise).
In the Customise tab, click Insert Table.
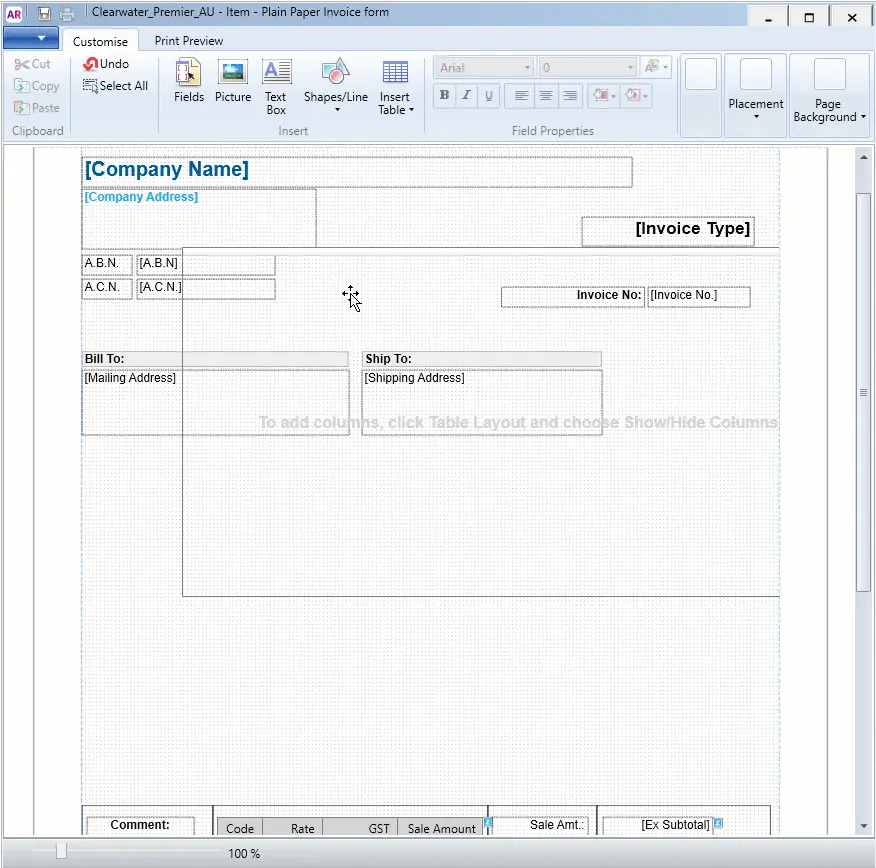
Choose the type of table you want to use from the list. The table appears on the form.
Click the table then drag the red cross to move the table into position.

To move a table
Click once anywhere inside the table, then click on the red cross icon and drag it to a new position.
Alternatively, you can enter placement coordinates in the Customise tab.

To add or remove table columns
Right-click the table and choose Show/Hide Columns. The Show/Hide Columns window appears.
If you want to:
add a column to your form, select it in the Available columns list and click Show.
remove a column from your form, select it in the Columns in your table list and click Hide.
Click OK. The columns are updated.
To change column order in a table
Click and hold a column heading and drag it to a new position.

To change column width in a table
Click and drag the edge of a column heading left or right.
Need to adjust the far-right column width?
Narrow another column until you can see the edge of the right-hand column. Ensure that the Edit Table option is deselected (Customise tab > Table Layout > deselect Edit Table). Then adjust the right-hand column width and tidy up the other column widths as required.
To edit table borders and shading
Double-click the column or column header.
Click the Customise tab.
To change the format or alignment of the text, edit the text format options.
To add a background colour to a column, click the shape fill icon ( ) and choose fill colour options.
To change the table borders, click the table or column and change the border options.
To show alternate rows as shaded in the table, click Table Layout, then choose Show Row Shading.
To edit, hide or show column headers
Double-click the column header text you want to change.
Type the text you want to show as the column heading.
To change the format or alignment of the text, use the text format options in the Customise tab.
To show or hide column headers, right-click the table and select Show Column Headers.
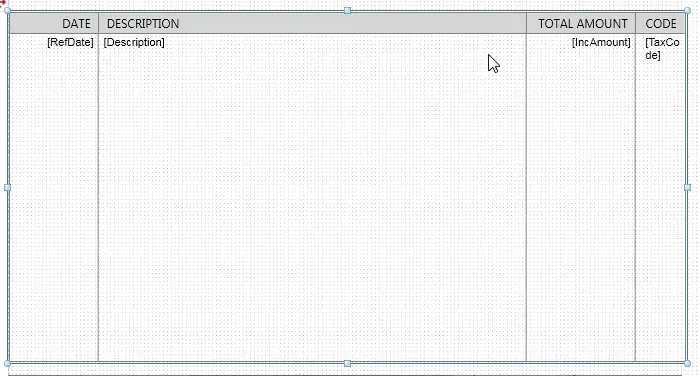
What's the blue border?
The dotted blue border around a table cell represents the cell margin. This helps to see where text will wrap within the cell.

Don't forget to save your personalised form, so you can select it when printing or emailing.