If you need to record certain information about your contacts, but can’t find a suitable card field for it, you may want to set up a custom field.
For example, you could set up a field to record your customers’ birthdays or a field to record the dates of your employees’ most recent performance review.
You can set up three custom fields for each card type and label them according to your needs. You can then enter any information you like in those fields.
If you need to, you can customise a report to show Custom Field information, or customise the cards list to include custom fields.
To set up custom card fields
Go to the Lists menu, choose Custom Lists and Field Names and then choose the card type for which you want to set up a custom field, for example, Customers. The Custom List and Field Names window appears.
Type the names of the custom fields you want to set up for the card type you have selected in the Name of Custom Field fields. For example, you could enter ‘Birthday’ to record your contacts’ birthdays.
Click OK. The custom field names you entered will now appear in the Card Details tab of the Card Information window.
To enter custom field information in a card
Go to the Card File command centre and click Cards List. The Cards List window appears.
Click the zoom arrow next to the card you want to edit. The Card Information window appears.
Click the Card Details tab and type the information you want to record in the appropriate custom field. For example, type 01/10/1970 in the Birthday field.
To print the Cards List with the custom field
Go to the Card File command centre and click Cards List. The Cards List window appears.
Click Customise and a list of columns you can choose from appears.
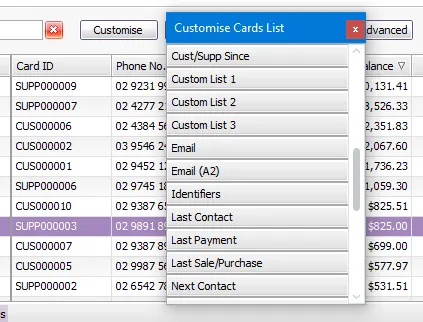
Add the custom field as a column (in the example below, we've added Contact, but you can add any custom field you've created). You can either:
double-click the column name to add it to the end of the card list.
drag a column to your desired position in the list.
Double-click the right border of a column header to resize it to best fit its contents.
If you add lots of columns, you can resize them all at once to best suit the content. Right-click a column header and choose Best Fit (all columns).
Right-click the list and choose Copy List to Clipboard. You can then paste the list into a spreadsheet or any document you like, ready for printing.
