The Data Maps screen (MPPP7020) lets you map imported timesheet data to records in the MYOB Advanced Payroll module. 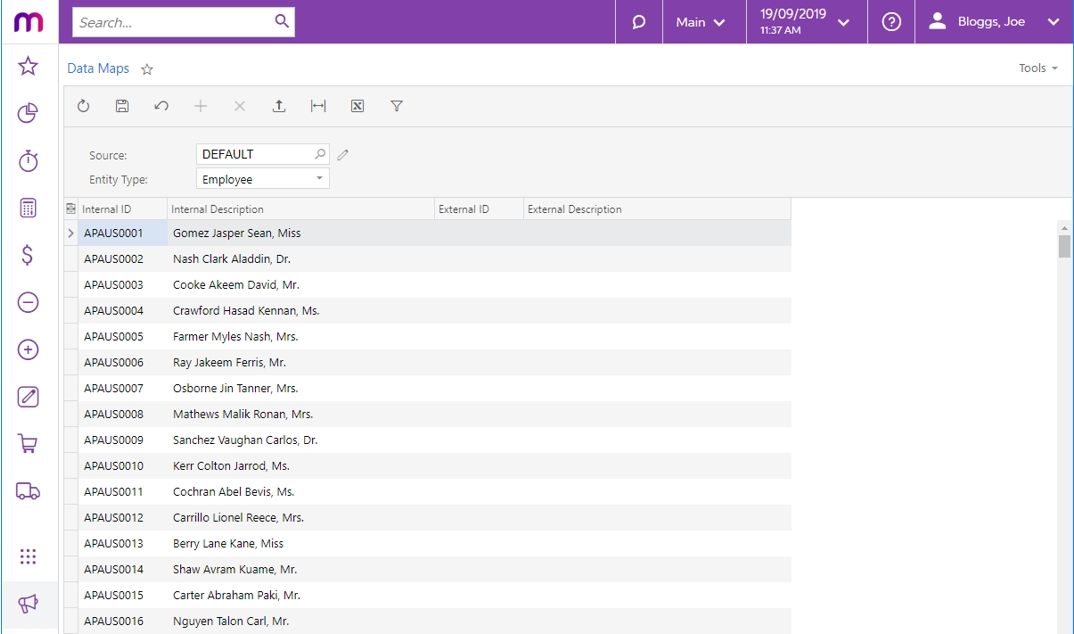 To set up a data map, first choose a Data Source Type in the Source field. Advanced provides a DEFAULT source, but you can set up new data sources by clicking the edit button next to the Source field. This opens the Data Source Types window (MBCS7010): 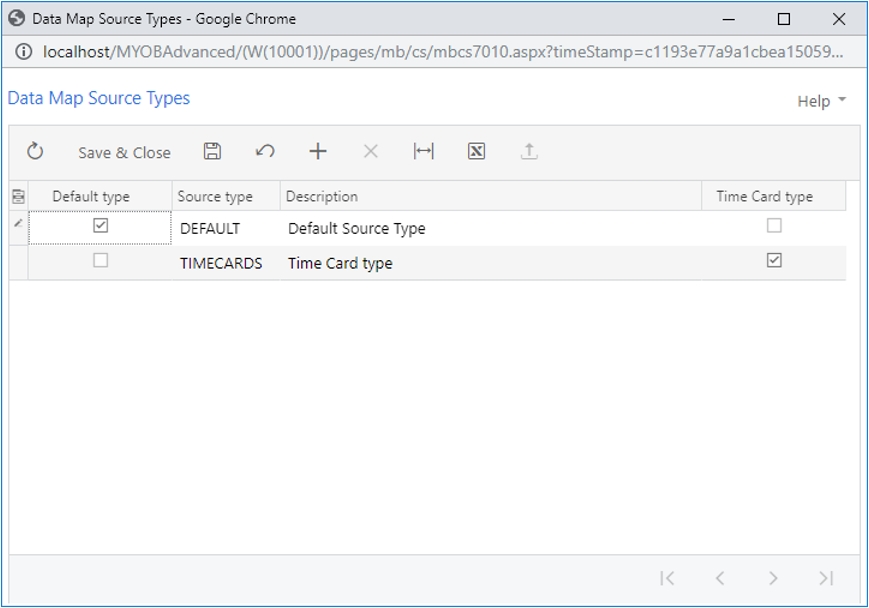
When setting up a new data source, tick the Time Card type box if the source will be used to import data from MYOB Advanced Time Cards. Once you have selected a Data Source Type, select the kind of records to map from the Entity Type dropdown. Selecting an Entity Type populates the main grid with all records of that type. Three types of record can be mapped: | Record | Description |
|---|
| Employee | Main grid displays all active payroll employees | | Pay item | Main grid displays all active pay items that have a calculation method of “Rated” or “Amount” | | Subaccount | Main grid displays all active subaccounts | | Project | Main grid displays all projects | | Inventory Item | Main grid displays all Non-Stock Items |
| UI Text Box |
|---|
| Mapping for projects and inventory items is used for the allocation of payroll expenses. Project tasks can also be imported, but the mapping for these is not set here—tasks are mapped directly by name, or the default project task is used. |
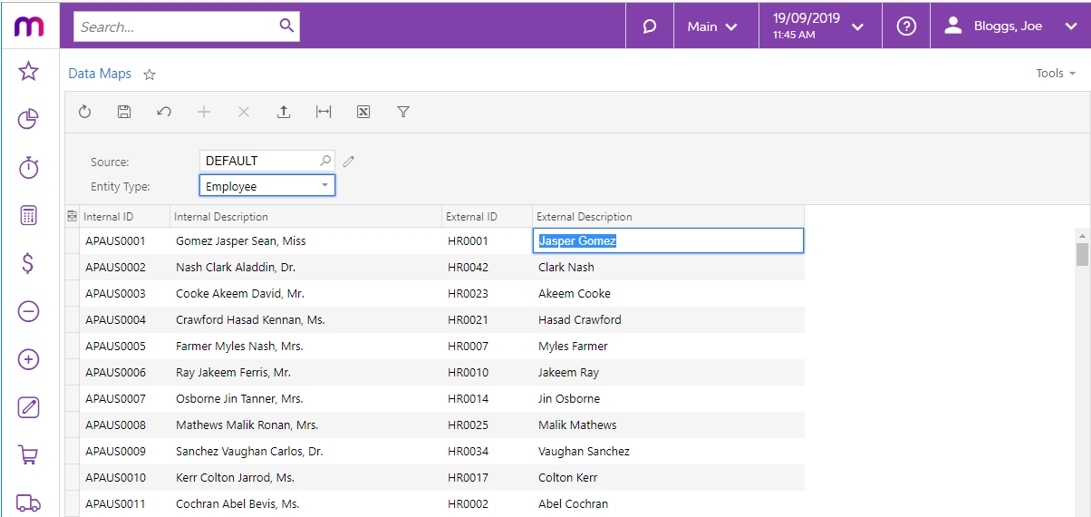
To begin with, the grid contains details of the records in the Internal ID and Internal Description columns—to complete the mapping, you must supply the External ID and External Description that each records maps to. There are two ways of doing this: Enter mapping details directly into the External ID and External Description columns for each record. | UI Text Box |
|---|
| Each record can only have a single external identifier mapped against it. |
Click the Export button ( ) to export the grid to an Excel file. Open the file in Excel, complete all mappings, then use the Upload button ( ) to export the grid to an Excel file. Open the file in Excel, complete all mappings, then use the Upload button ( ) to upload the completed Excel file back into the grid. ) to upload the completed Excel file back into the grid.
 | UI Text Box |
|---|
| You don’t need to map all records to be able to save the mapping—any unmapped records will be ignored when mapping imported timesheet data. |
| 