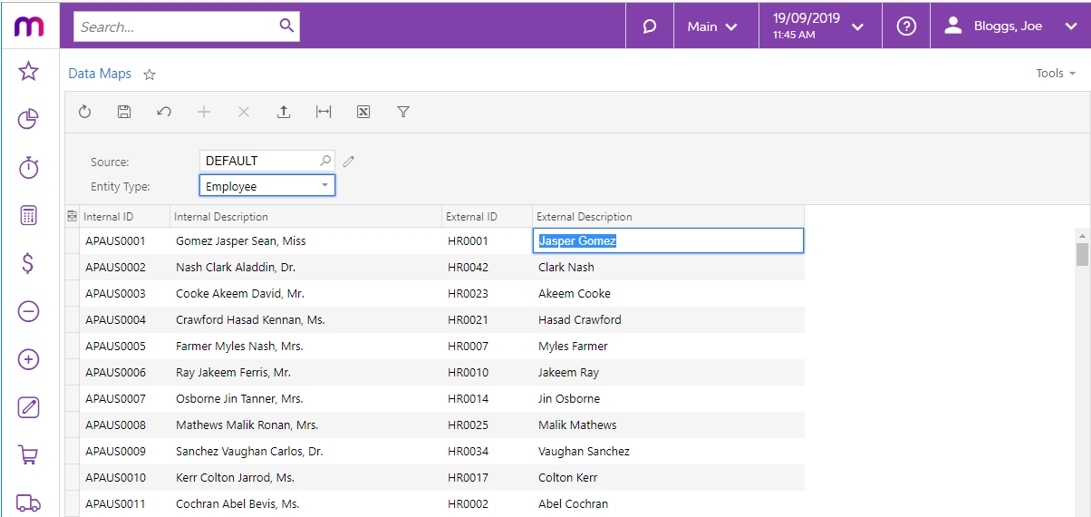
The The Data Maps screen Maps screen (MPPP7020) lets you map associate MYOB Advanced Payroll records with imported timesheet data to records in the MYOB Advanced Payroll module. 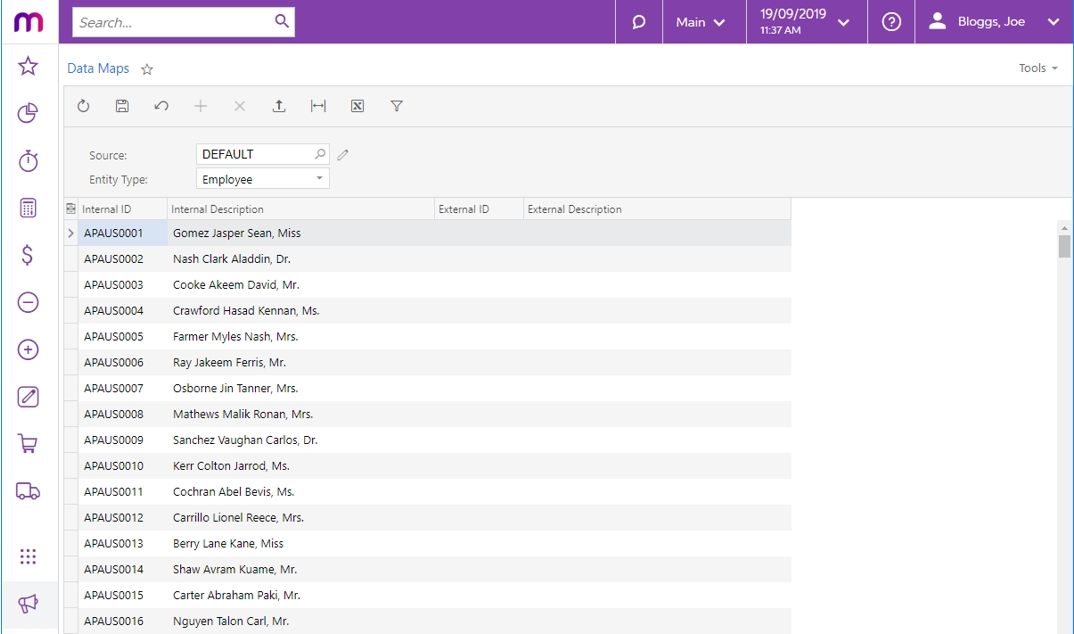 Image Removed Image Removed To set up a data map, first choose a Data Source Type in the Source field. Advanced provides a DEFAULT records. For example, an employee might have two IDs: one in MYOB Advanced Payroll and one in the system where their timesheets come from. By mapping these two IDs to each other, MYOB Advanced Payroll knows that they both refer to the same employee. The Source field refers to where timesheets will be imported from. MYOB Advanced Payroll includes a default source, but you can set up new data sources by clicking the edit button . Companies using MYOB Advanced time cards must set up a time card type source. Data | UI Expand |
|---|
| - Go to the Data Maps screen (MPPP7020).
- In the summary area, click the edit icon (
 Image Added) next to the Source field. Image Added) next to the Source field.
|
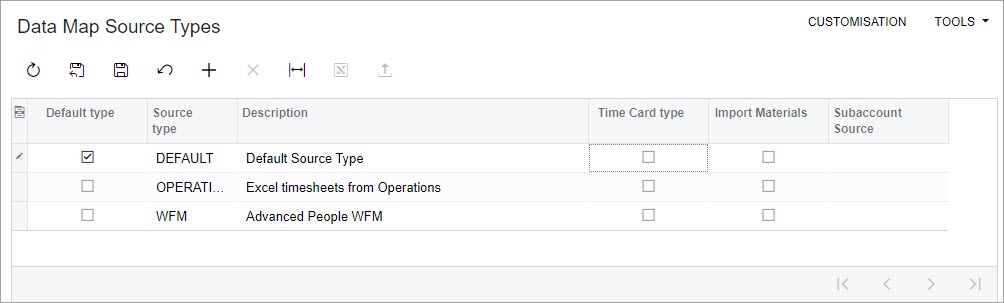
This opens the
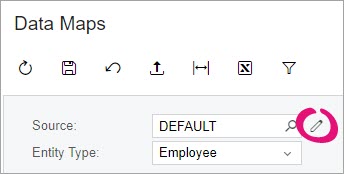 Image Added Image Added- On the toolbar of the Data Map Source Types window
|
(MBCS7010):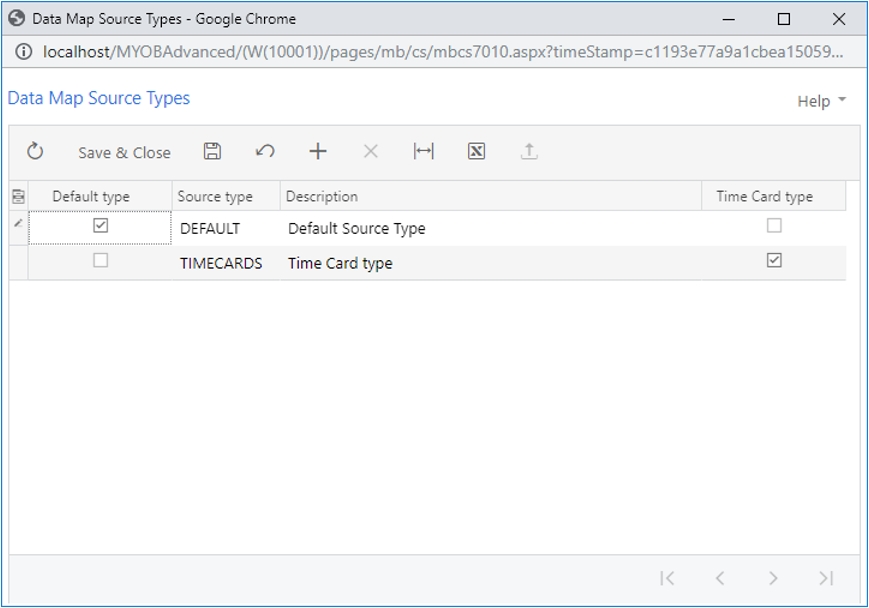 Image Removed Image Removed
When setting up a new data source, tick the Time Card type box if the source will be used to import data from MYOB Advanced Time Cards. Once you have selected a Data Source Type, select the kind of records to map from the Entity Type dropdown. Selecting an Entity Type populates the main grid with all records of that type. Three types of record can be mapped: |  ) to export the grid to an Excel file. Open the file in Excel, complete all mappings, then use the Upload button (