In the Accounts List page, you can view, Accounts provide a means for grouping similar transactions. For example, if your business pays rent for the use of its premises, you would create a rent expense account and then allocate all rent payments to that account. Just getting started with MYOB Essentials? Learn how to import an accounts list. Take a look at this quick accounts overview: | HTML |
|---|
<iframe width="560" height="315" src="https://fast.wistia.com/embed/medias/ykxa4fgn83" frameborder="0" allowfullscreen></iframe> |
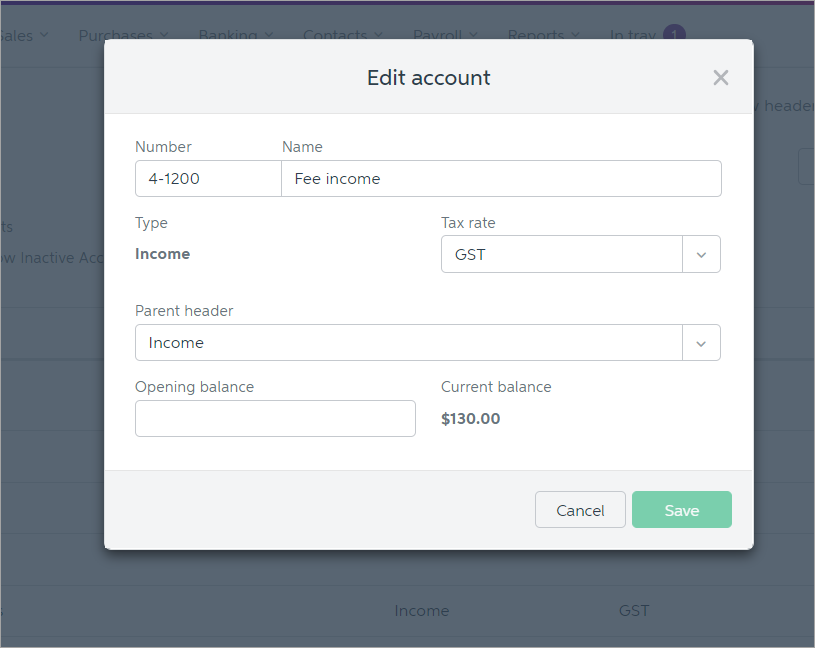
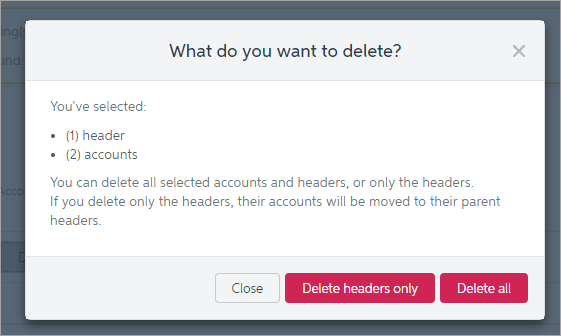
Accessing your accounts listYou can access your MYOB Essentials' accounts by clicking your business name and choosing Accounts list. From here you can add, edit and delete headers and accounts (or , make them inactive). You can also enter opening balances for new accounts, and view account tax rates. Image Removed Image Removed  Image Added Image Added
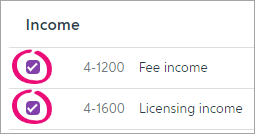
Your accounts list consists of: - detail accounts—sometimes called sub-accounts, these are the accounts to which you allocate transactions.
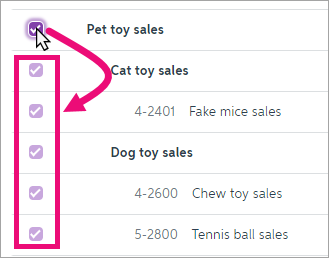
- header accounts—these accounts group related detail accounts to help you organise your accounts list.
For example, you could group your telephone, electricity and gas expense accounts using a Utilities header account. This makes it easier for you to locate the utility expense accounts in the accounts list and to see your combined utility expenses. Before adding a new account, note the account names and numbers of the existing accounts in the list. They’re based on a numbering system which groups accounts by their Account Type. The existing names and numbers will help you choose appropriate account names and numbers when adding or editing accounts. If you're setting up your accounts from scratch, learn about importing an accounts list and entering opening balances. | UI Text Box |
|---|
| The new Accounts list We've improved the layout of the Accounts list, and added great new features like easier account editing and sorting. Feeling nostalgic for the old accounts list? Click Back to the old accounts list to switch versions. On the old version, click Switch to the new accounts list if you want to go back. 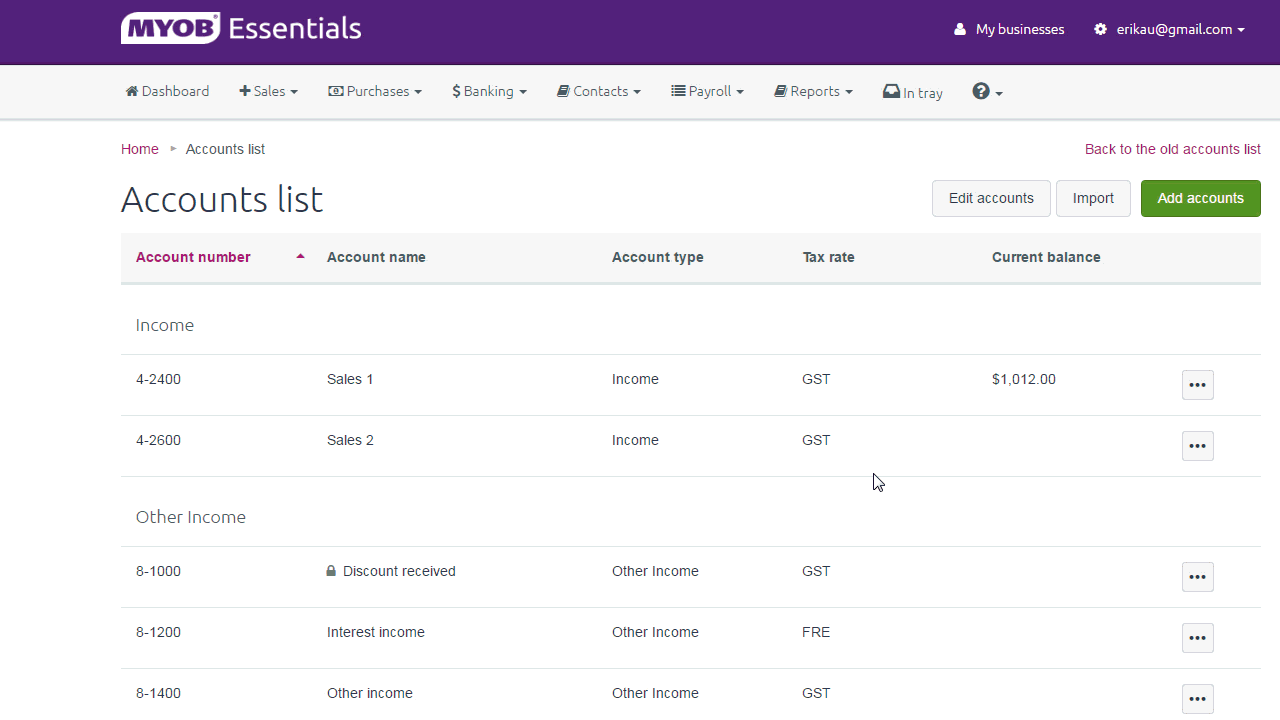 Image Removed Image Removed
|
AccountsAccounts provide a means for grouping similar transactions. For example, if your business pays rent for the use of its premises, you would create a rent account and then allocate all rent payments to that account. Accounts also include your bank and credit card accounts. Account numbersEach account is identified by a unique five digit number. The first digit indicates the account’s classification (for example, accounts starting with 6 are expense accounts). The remaining four digits determine its location within the classification. The lower the number, the higher up in the list it appears. For example, account 1-1100 appears above 1-1200. Account typesEach account must be assigned an account type before it can be used to track your business’s financial activity. You can choose from 12 different account types: - Banking, Current Assets, Fixed Assets (asset accounts)
- Credit Card, Current Liabilities, Long Term Liabilities (liability accounts)
- Equity (equity account)
- Income, Other Income (income accounts)
- Cost of Sales, Expense, Other Expense (expense accounts)
Each account type serves a specific purpose. If you’re unsure about which type you should assign to a new account, ask your accounting advisor. Note that an account type can't be changed if it has a current balance. For information on changing an account type, see Adding, editing and deleting accounts. Accounts listThe accounts you use for your business are grouped in an accounts list (also known as a chart of accounts). When you registered and set up MYOB Essentials, an accounts list was selected for you based on the business type you specified. You also reviewed this accounts list during setup. If any of the existing accounts that came with MYOB Essentials don’t meet your business needs, you can edit them so that they do. You can also make an existing account inactive, add a new account, and in certain circumstances, delete an account. | 


 Yes
Yes
 No
No
 Thanks for your feedback.