Once you are sure all of the previous steps have been completed correctly, back up your data, then click File Regular Pay to check the details and finalise your payroll, and you're done! Filing the payroll saves all data to the IRD returns report, and sets your Period Ending date to the end of your next pay periood. | UI Text Box |
|---|
| If you don't file your pay, you are not saving your work and Ace Payroll can’t produce your IRD returns for you each month. |
| UI Expand |
|---|
| title | To back up your data files |
|---|
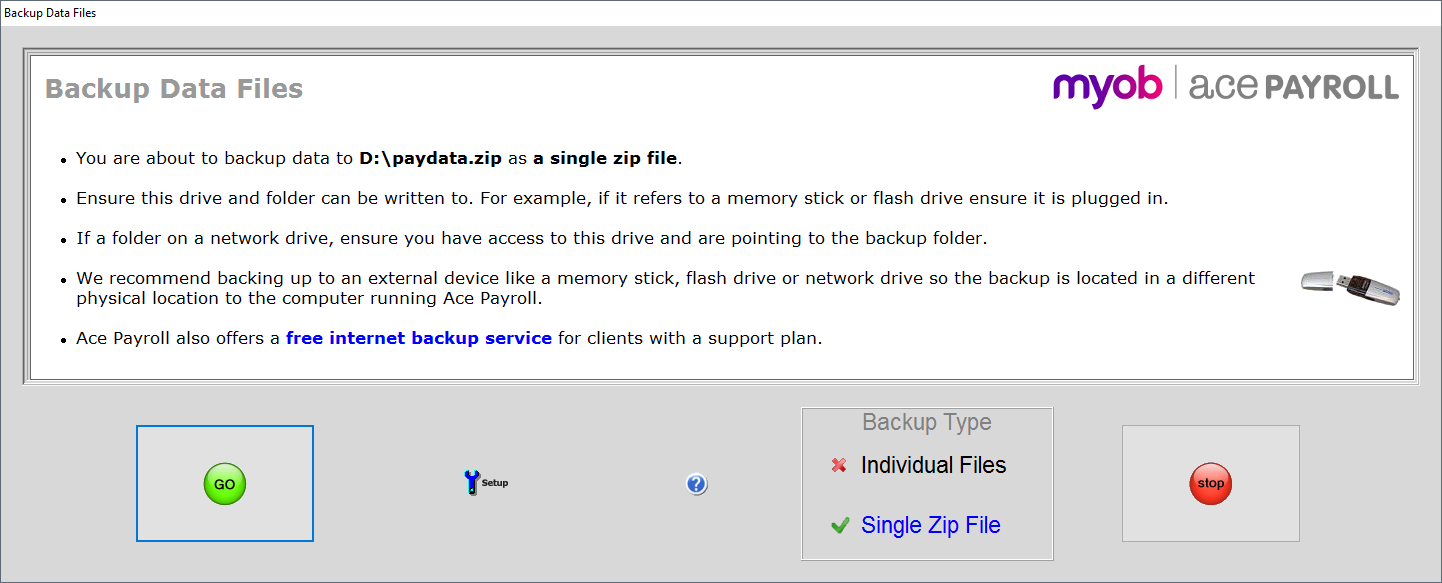
| - From the front screen click Backup Data Files.
- The Backup Data Files window opens. Click Go to make a backup.
If you want to save your backup to a different place, such as a a flash drive or external hard drive click Setup.
|
| UI Expand |
|---|
| title | To file your regular pay |
|---|
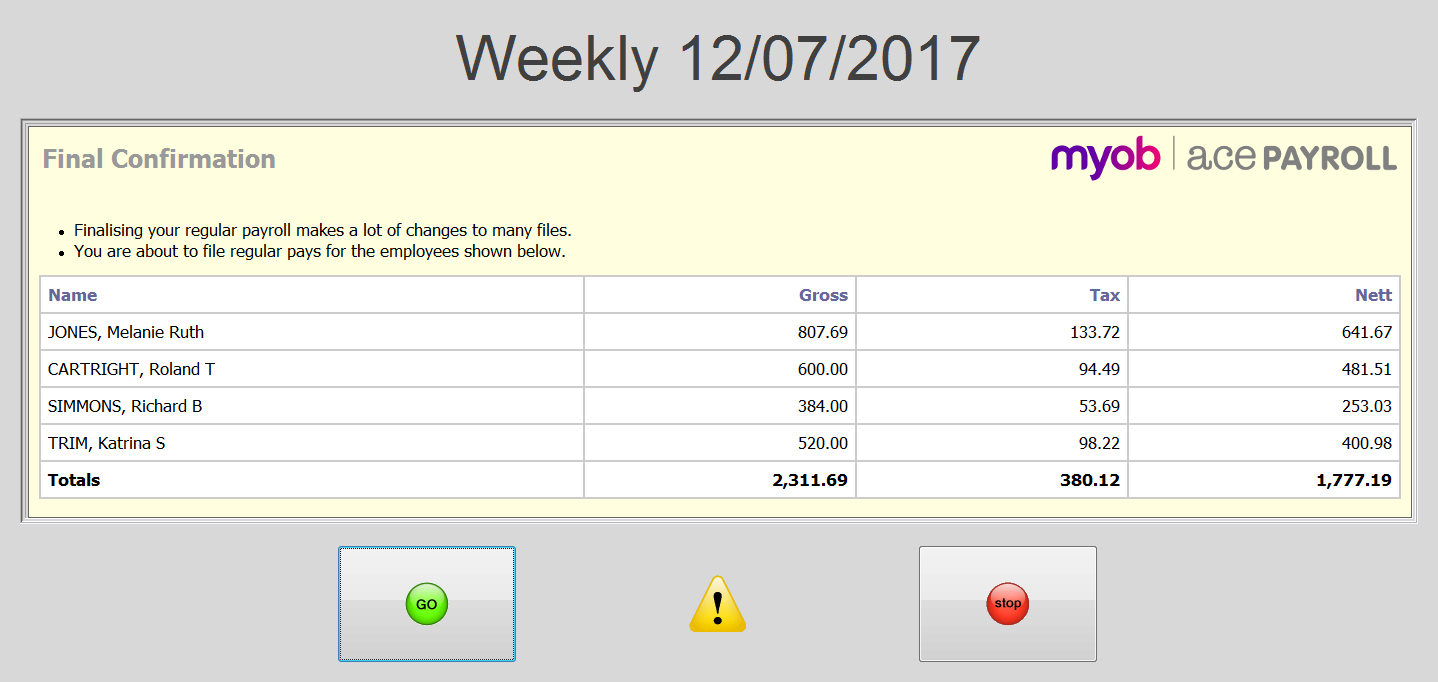
| - From the front screen, click File Regular Pay.
- TheRegular Payroll Checklist window opens. Check that you have completed the tasks, then click Go.

- The Final Confirmation window opens. Check that your pays are all correct, then click Go.
|
Visit Getting started for more information on the payroll process and common tasks in Ace Payroll.
| UI Button |
|---|
| color | green |
|---|
| size | large |
|---|
| title | Done! |
|---|
| url | http://help.myob.com/wiki/display/ace/Getting+started |
|---|
|
| 
 Yes
Yes
 No
No
 Thanks for your feedback.