Some businesses purchase second-hand items and dismantle them into parts to sell individually. To record this in AccountRight, you'll record the whole item as a purchase, then create an item for each component, and finally transfer the inventory using Build items. | UI Text Box |
|---|
Example A company which sells second-hand computer systems and parts has purchased an old Pentium computer. They plan to remove all saleable parts from the computer and sell them individually. Although this is a nostalgic example, but the same approach can be used for any item which can be broken down into saleable parts. |
| UI Expand |
|---|
| title | 1. Create a new item for the initial purchase |
|---|
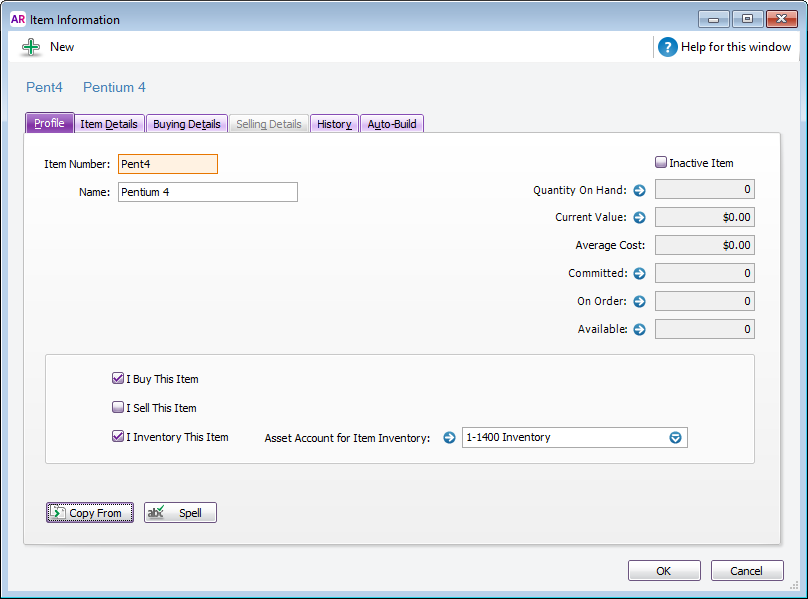
| 1. Create a new item for the initial purchaseStart by creating a new item for the whole purchased item. In our example, it would be the Pentium computer. - Select the I Buy This Item and I Inventory This Item options.
- Leave the I Sell This Item option deselected because we won't be selling this item.
- Click the Buying Details tab and select the Tax/GST Code When Bought. Check with your accounting advisor if unsure.

|
| UI Expand |
|---|
| title | 2. Record the purchase |
|---|
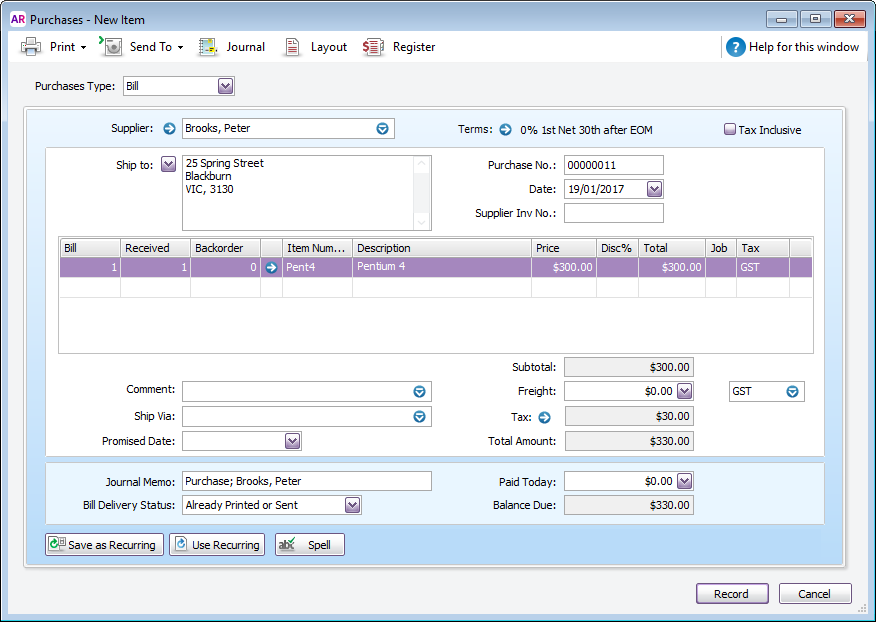
| 2. Record the purchaseNow that the item is created, enter a bill to record its purchase. 
|
| UI Expand |
|---|
| title | 3. Create items for the components |
|---|
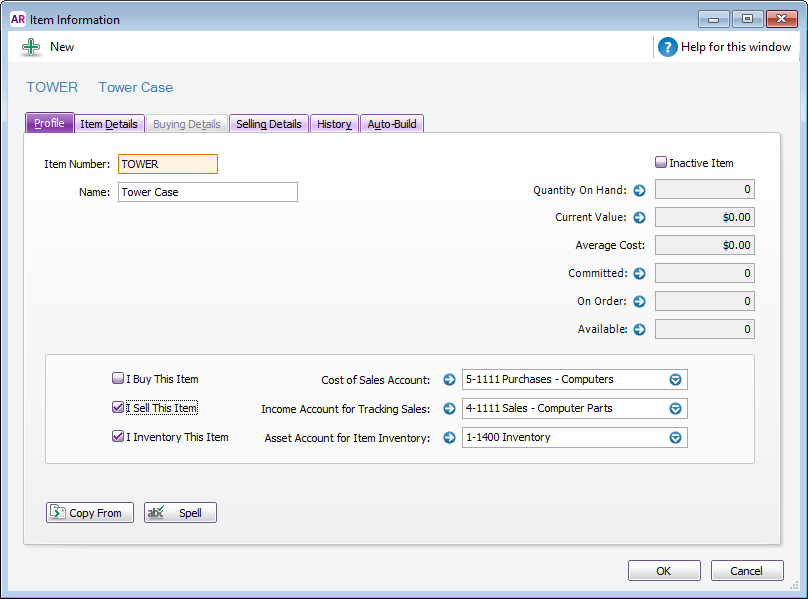
| 3. Create items for the componentsYou can now create an item for each component that can be dismantled and sold. In our example below, we're creating the item for the Tower Case of the Pentium computer system. - Select the options I Sell This Item and I Inventory This Item, and enter the relevant linked accounts for each.
- Click the Selling Details tab and specify the Tax/GST Code When Sold. Check with your accounting advisor if unsure.

|
| UI Expand |
|---|
| title | 4. Use the Build Items function to transfer inventory |
|---|
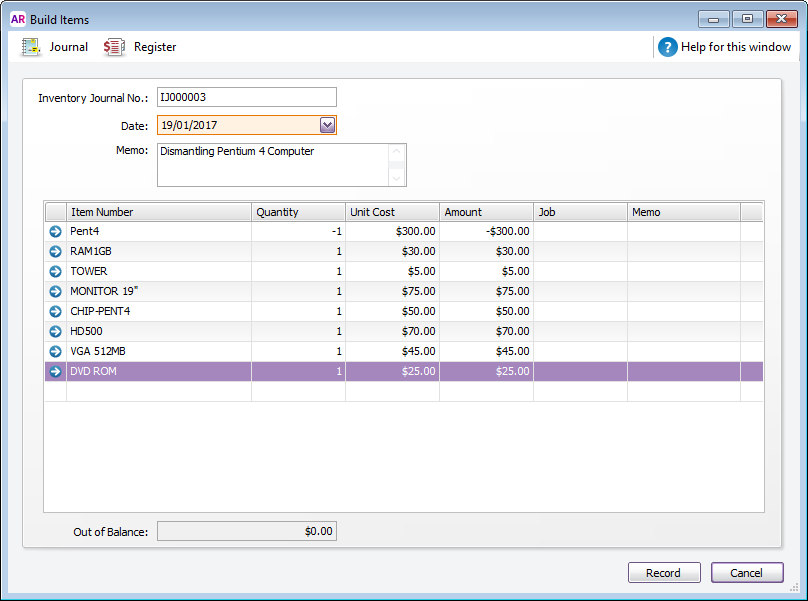
| 4. Use the Build Items function to transfer inventoryOnce every component item is created, you're ready to record them into your inventory using the Build items function (Inventory > Build Items). This allows you to: - decrease your stock by 1 of the whole purchased item, and
- increase your stock by 1 of each of the component items.
In our example: - The original item (our Pentium system) is entered with a negative Quantity to remove it from the inventory.
- The component items are entered using positive Quantities as they are now inventoried and ready to be sold.

|
|