
- Created by Unknown User (vilma.zubak), last modified by MartinW on Aug 12, 2020
You are viewing an old version of this page. View the current version.
Compare with Current View Page History
« Previous Version 78 Next »
https://help.myob.com/wiki/x/HIxnAw
How satisfied are you with our online help?*
Just these help pages, not phone support or the product itself
Why did you give this rating?
Anything else you want to tell us about the help?
Do not delete this page - MYOB Practice navigates to it from within the product
It’s easy to set up an MYOB Essentials or AccountRight file. You just need to know a few client details (like their business name and phone number), and how many employees they have (this will help you choose the right product).
You’ll also need to consider who is paying—is it your practice or your client?
MYOB Essentials runs completely in a browser. Learn more.
MYOB AccountRight is desktop-based software, but the business details (company file) are stored online. Learn about AccountRight.
Go to the Transaction processing page, and click Create file.
Is the client you're creating an MYOB Essentials file for already set up in MYOB Practice?
Yes: Link the new file to the client it relates to:
If you don't use MYOB AE/AO in your practice, click Link to existing client.
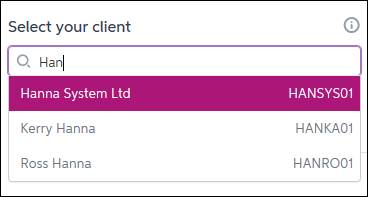
Type the first few characters of the client's name into the Select your client field and select the client.
No: You will need to add the client first:
- If you use MYOB AE/AO, create them in your desktop software first. After the client details have synced (it might take a minute or two), refresh the Create client file(s) page, click Link to existing client and select the client.
- If you don't use MYOB AE/AO, click Create a new client and enter the client entity type and their name.
Enter the file details, including the business owner’s name and contact details.
Select your payment method. Will your client pay directly or will your practice bill them?

If your practice receives discounts as commission, new subscriptions paid for by clients are eligible for the same discounts (Australia only, New Zealand coming soon)
Select an MYOB Essentials product for your client. (You can upgrade easily if the business adds more employees later.)
Need help selecting an MYOB Essentials or Connected Ledger product? See the feature comparison here: Australia | New Zealand
Click Continue.
Click Create file. The business appears in your list of online files in Transaction processing.
Can't see it? Give it a moment or two and it'll appear.
You'll also notice a new tab (or window) in your browser. Here you can finish setting up the business by selecting the accounts list and entering opening balances. For help with this, see Entering opening balances.
- Go to the Transaction processing page and click Create file.
- Is the client you're creating an AccountRight file for already set up in MYOB Practice?
Yes: Link the new file to the client it relates to:
If you don't use MYOB AE/AO in your practice, click Link to existing client.
Type the first few characters of the client's name into the Select your client field and select the client.
No: You will need to add the client first:
- If you use MYOB AE/AO, create them in your desktop software first. After the client details have synced (it might take a minute or two), refresh the Create client file(s) page, click Link to existing client and select the client.
- If you don't use MYOB AE/AO, click Create a new client and then enter the client entity type and their name.
- Enter the file details, including the business owner’s name and contact details.
Select your payment method. Will your client pay directly or will your practice bill them?
If your practice receives discounts as commission, new subscriptions paid for by clients are eligible for the same discounts (Australia only, New Zealand coming soon)
Select an AccountRight product, as follows. (You can upgrade easily if the business grows, or your client’s needs change.)
If your client has... Select... Simple banking and invoicing needs, and has no employees
AccountRight Basics Inventory and wants to track supplier purchases, but has no employees AccountRight Standard Employees and advanced accounting needs, including stock, and time billing AccountRight Plus More than one business with employees, or deals in multiple currencies AccountRight Premier Click Continue. A summary of what you've chosen is displayed.
In the Financial year field, select the last month of the financial year for which you want to start recording transactions. For example, if you select June 2019, the financial year will run from 1 July 2018 to 30 June 2019.
In the Conversion month field, select the earliest month for which you want to record transactions and opening balances (known as the conversion month).
In the example below, selecting January as the conversion month means you won't be able to enter transactions dated before 1 January 2017 and the opening balances will need to be as at 1 January 2017.
Carefully consider the financial year and conversion month for this business, as you can't change the year and month once you click Create file.
- Click Create file. The business appears in the list of online files in Transaction processing.
Can't see it? Give it a moment or two and it'll appear.
The next step is to finish setting up the file by tailoring the accounts list and entering opening balances. For information on how to do this in the AccountRight file, see Setting up.
Create multiple files
This is only available for non AE/AO partners.
For Australia, this is available for all MYOB Essentials (new) files only.
For New Zealand, this is available for MYOB Essentials Connected Ledger files only.
Partners can purchase up to 20 ledger files of the same type in one transaction. It's a great time-saver, and you don't have to go through your Account Manager.
For example, you can purchase 5 MYOB Essentials Accounting files in one transaction, and then 10 MYOB Essentials Connected Ledger files in another transaction. That's 15 files in only 2 transactions!
Go to the Transaction processing page, and click Create file.
Click Create multiple files.
Leave the payment method as the default My practice option.
If you want to change the payment method, after you've finished this procedure and linked a client to the file, contact MYOB support.
- Select how many files you want to create, between 2 and 20.
Select an MYOB Essentials product. (You can upgrade easily if the business adds more employees later.)
Need help selecting an MYOB Essentials or Connected Ledger product? See the feature comparison here: Australia | New Zealand
If you want to select more than one type of product, select one product for now and, after you've created the files for one product, repeat this procedure for the other products.
Click Continue.
Click Create file. The multiple files you purchased appear in your list of online files in Transaction processing and will be called Essentials (New) - [XXXX].
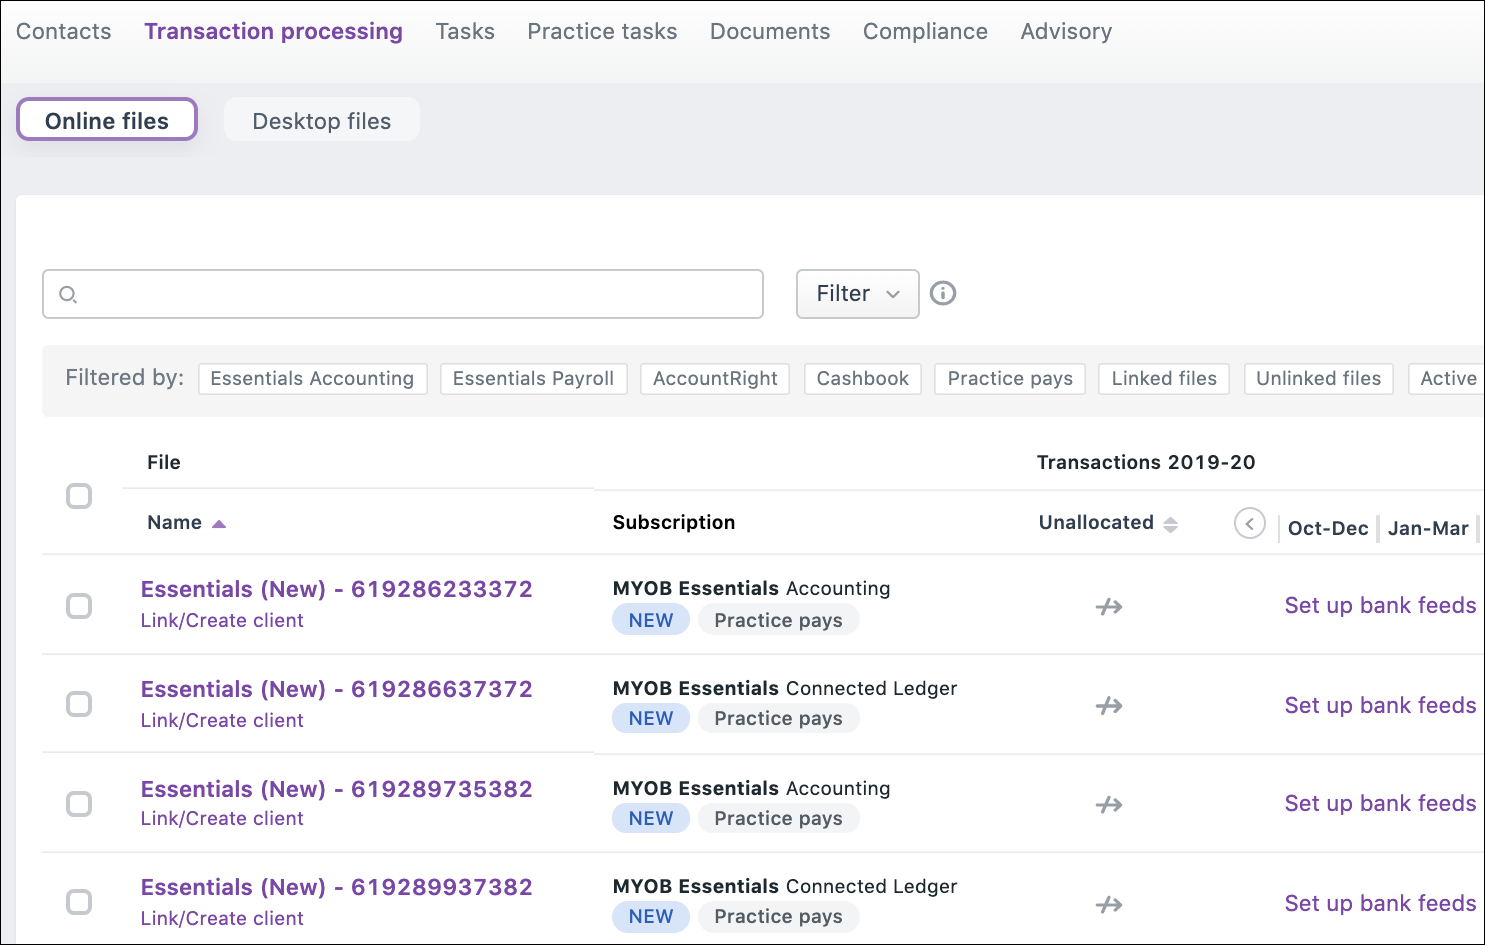 Can't see them? It can take longer for multiple files to appear than it takes when creating single files. Multiple files should appear within 10 minutes. While the files are being created, they will be appear grey and display a creating status.
Once the files are finished being created (indicated by a purple colour and no creating status displayed), you can link the files to clients.
You can use the filtering options to help you find the new files.
FAQs
If you’ve recently created a file, perhaps someone has restricted your access to the client. The Transaction processing page only shows files linked to clients you have access to. If your access has been removed, you can get access again by contacting an administrator in your practice.
Another reason you might not see the client’s file on the Transaction processing page is if your user account or advisor account has been removed from within the client’s file. Learn about getting and removing access to a file.
 Yes
Yes
 No
No
 Thanks for your feedback.