
- Created by JoshA, last modified by EmilyM on Jul 22, 2019
You are viewing an old version of this page. View the current version.
Compare with Current View Page History
« Previous Version 45 Next »
https://help.myob.com/wiki/x/uwCmAw
How satisfied are you with our online help?*
Just these help pages, not phone support or the product itself
Why did you give this rating?
Anything else you want to tell us about the help?
Payday filing is a new way of reporting employee pay details to the IRD. Instead of sending an Employer Monthly Schedule (IR348) every month, under payday filing you generate and upload an Employment Information (EI) return file for every pay run. The EI return file contains the same information as the IR348, as well as ESCT amounts for each employee and dates for the pay run. Information about new and departing employees in the pay is also sent to the IRD in an Employee Details file.
This page has information on setting up and using the payday filing features in Ace Payroll - you can also watch a video on this topic:
Payday filing is compulsory from 1 April 2019, but you can start using it before then. Once you start using payday filing, you no longer need to submit the IR348. See “Payday filing” on the IRD’s website for more information.
Set up Ace Payroll for payday filing
Before you can upload EI return files, your system needs to be set up for filing using the IRD's myIR website. You'll also need to set up payday filing options in Ace Payroll.
The IRD has information on registering for and using myIR on their website.
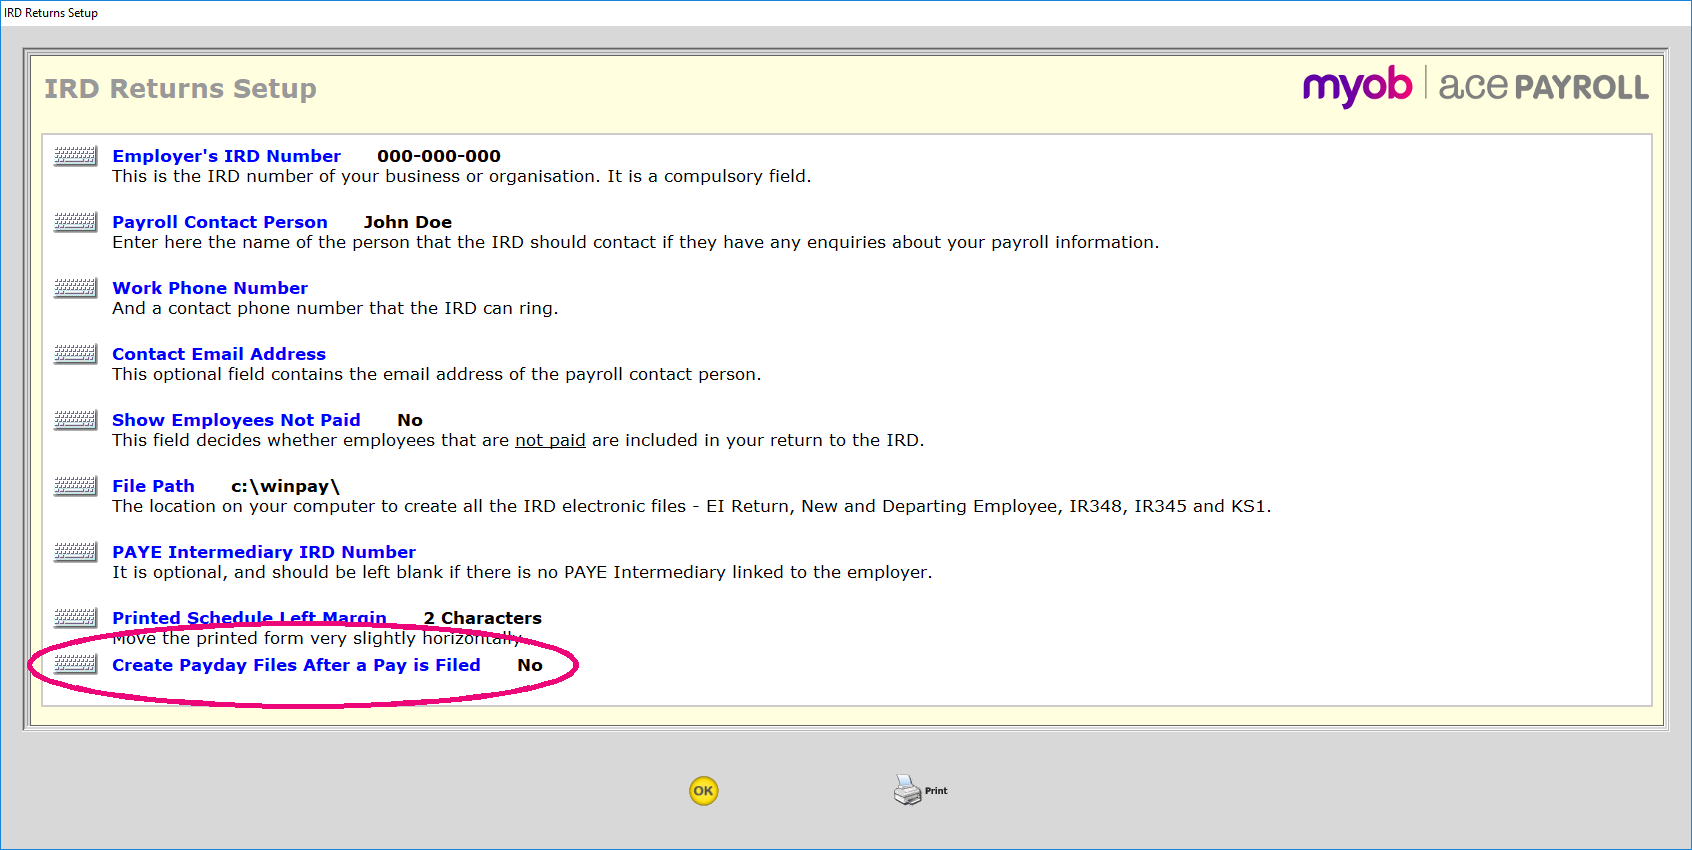
- From the front screen click Reports > IRD Returns > IRD Returns Setup.
- The IRD Returns Setup window appears. Check that you have entered information for all of these fields, which are required for payday filing:
- Employer's IRD Number
- Payroll Contact Person
- Work Phone Number
- Contact Email Address

Check the File Path - this is the location where your EI return files will be saved.

The File Path defaults to your data directory. We recommend that you chose a different location for your EI return files, to make it easier to find the files and to avoid accidentally deleting data files when clearing out old EI return files.
- Click Create Payday Files After a Pay is Filed.
On the window that appears, select whether or not to create EI return files automatically when a pay is filed:
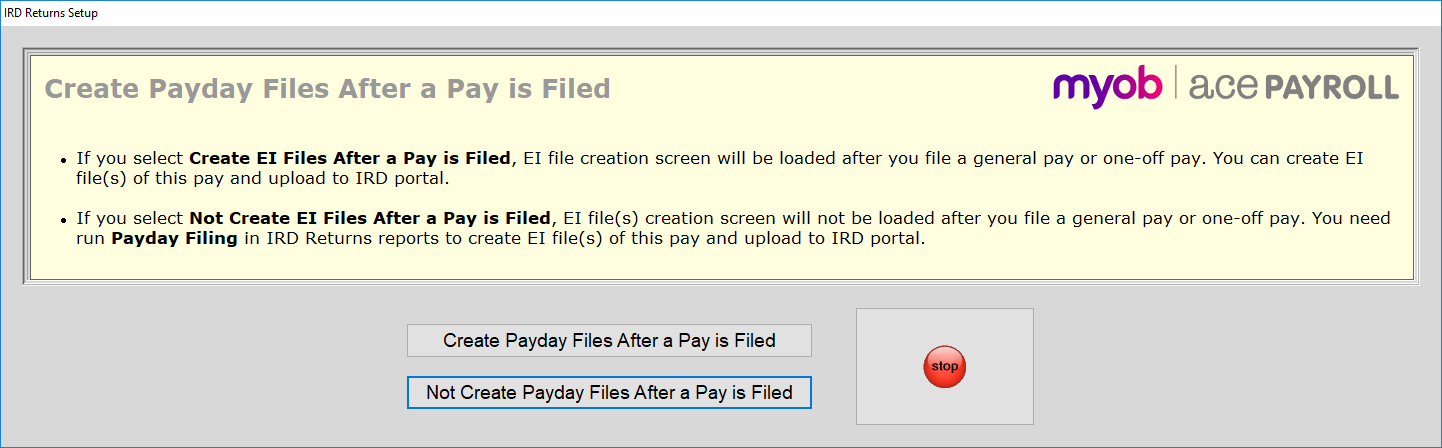
We recommend that you select Create Payday Files After a Pay is Filed. If you chose not to, you'll need to create files for payday filing from the Employment Information (EI) Return window.
- The window disappears, and you are returned to the IRD Returns Setup window. Click OK to close the window.
Create EI return files
Once your system is set up, you can start creating EI return files after each pay is processed.
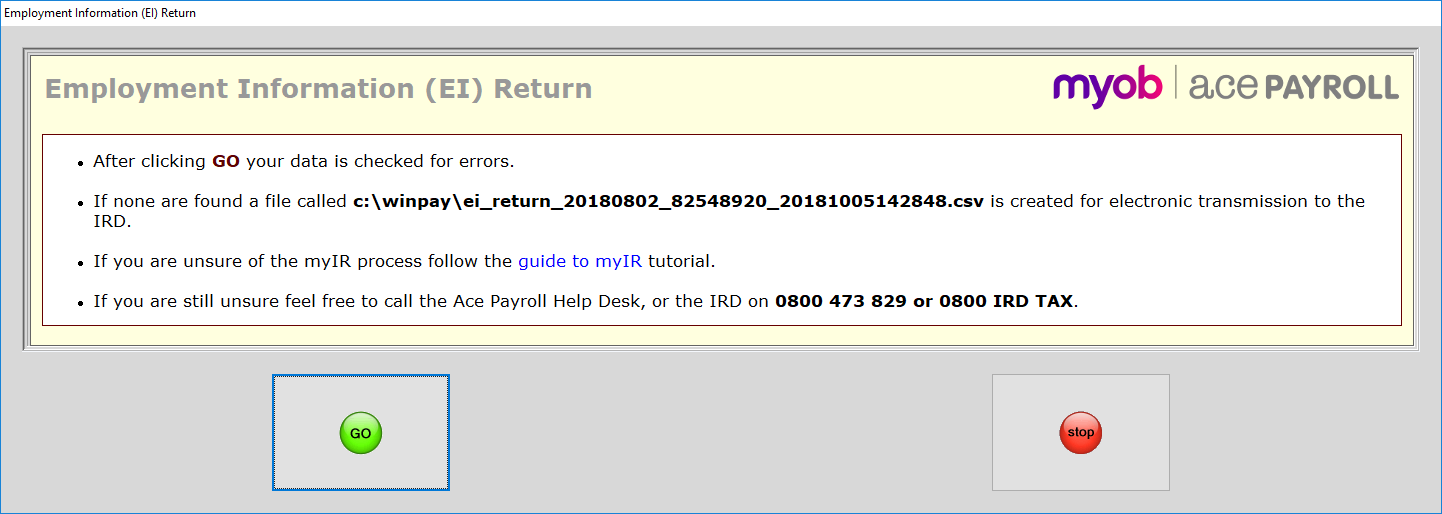
- File your pay as you normally would. Once the pay is filed, the Employment Information (EI) Return window appears, displaying the details of all employees in the pay are displayed. Click Electronic File to create the EI return file.

- A confirmation window appears. Click GO to check your data and create the EI return file.
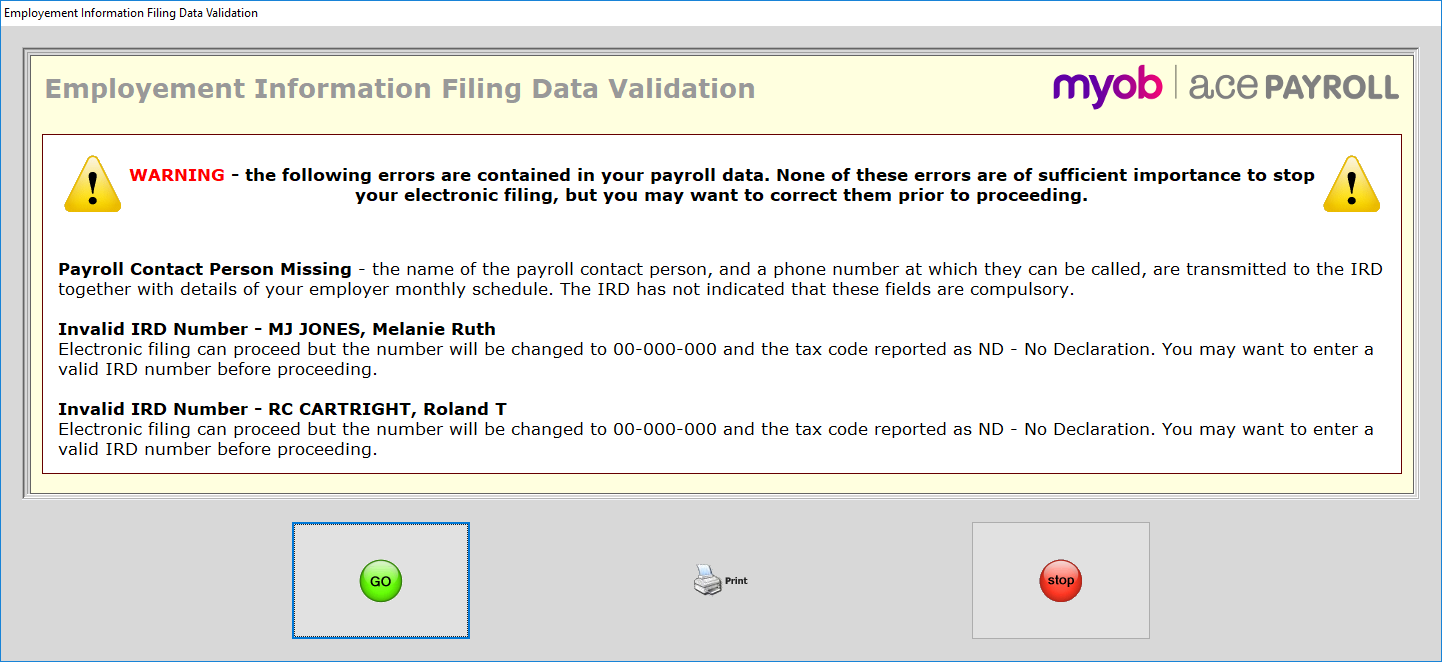
- If Ace Payroll finds any errors in the pay data, a window will appear giving details of the errors. Depending on the kind of error, you may be able to click GO to continue, or you may have to click STOP to close the window so you can fix the errors before continuing.
- Details of the created file(s) appear, including their location and file name (which is based on the pay date and company IRD number). Click Print to print the file(s) for your records, or click myIR login to open the IRD website in a web browser so you can upload the return file(s).
See our video "Payday filing using file upload through myIR" for help with uploading return files.
When you click myIR login, the location and file name of the EI return file is copied to the clipboard, so you can paste it directly into the IRD file import window by pressing CTRL+V.
If you need to create EI return files for historical pays, re-generate EI return files for a pay, or if you chose not to create payday files after a pay is filed, you can create EI return files manually using the Employment Information (EI) Return window.
- From the front screen click Reports > IRD Returns > Payday Filing. The Employment Information (EI) Return window appears, listing all processed pays for the selected month. Any pays that you have already created EI return files for will have details in the File Name and File Created Date columns.

Select the pay to generate an EI return file for (change the month if you need to find an earlier pay) and click GO.
You can select a pay that already has an EI return file if you want to re-create the file for that pay.
- The Employment Information (EI) Return window appears, displaying the details of the pay you selected. Click Electronic File to generate the EI return file using the same process as when files are generated automatically.

 Yes
Yes
 No
No
 Thanks for your feedback.