Online company files only, not available in AccountRight Basics
If your company file is online, you can store your supplier bills securely in AccountRight's In Tray. If a bill is for a transaction you've recorded in AccountRight, you can link the bill to that transaction. Otherwise, when you add a bill to your In Tray, AccountRight will use advanced Optical Character Recognition (OCR) technology to identify key information in the document, speeding up transaction entry by filling in what it can for you.
Using AccountRight in a browser? Your In tray help is here.
Also learn how to attach documents to your cards or bills and spend money transactions.
And if you’re a bookkeeper or accountant, the source documents you need to review for each bill transaction are now just a click away. You no longer need to chase up clients to get copies of their supplier invoices for verification, and it’s easier to check that all their tax allocations are correct (making BAS and GST returns easier to prepare).
You can add documents up to 10MB in size to your In Tray, and in these formats: .PDF, .JPG, .JPEG, .TIFF, .TIF, and .PNG.
Watch this video to learn how it works:
Adding documents to your In Tray
Open your online company file (your company file needs to be online to use the In Tray).
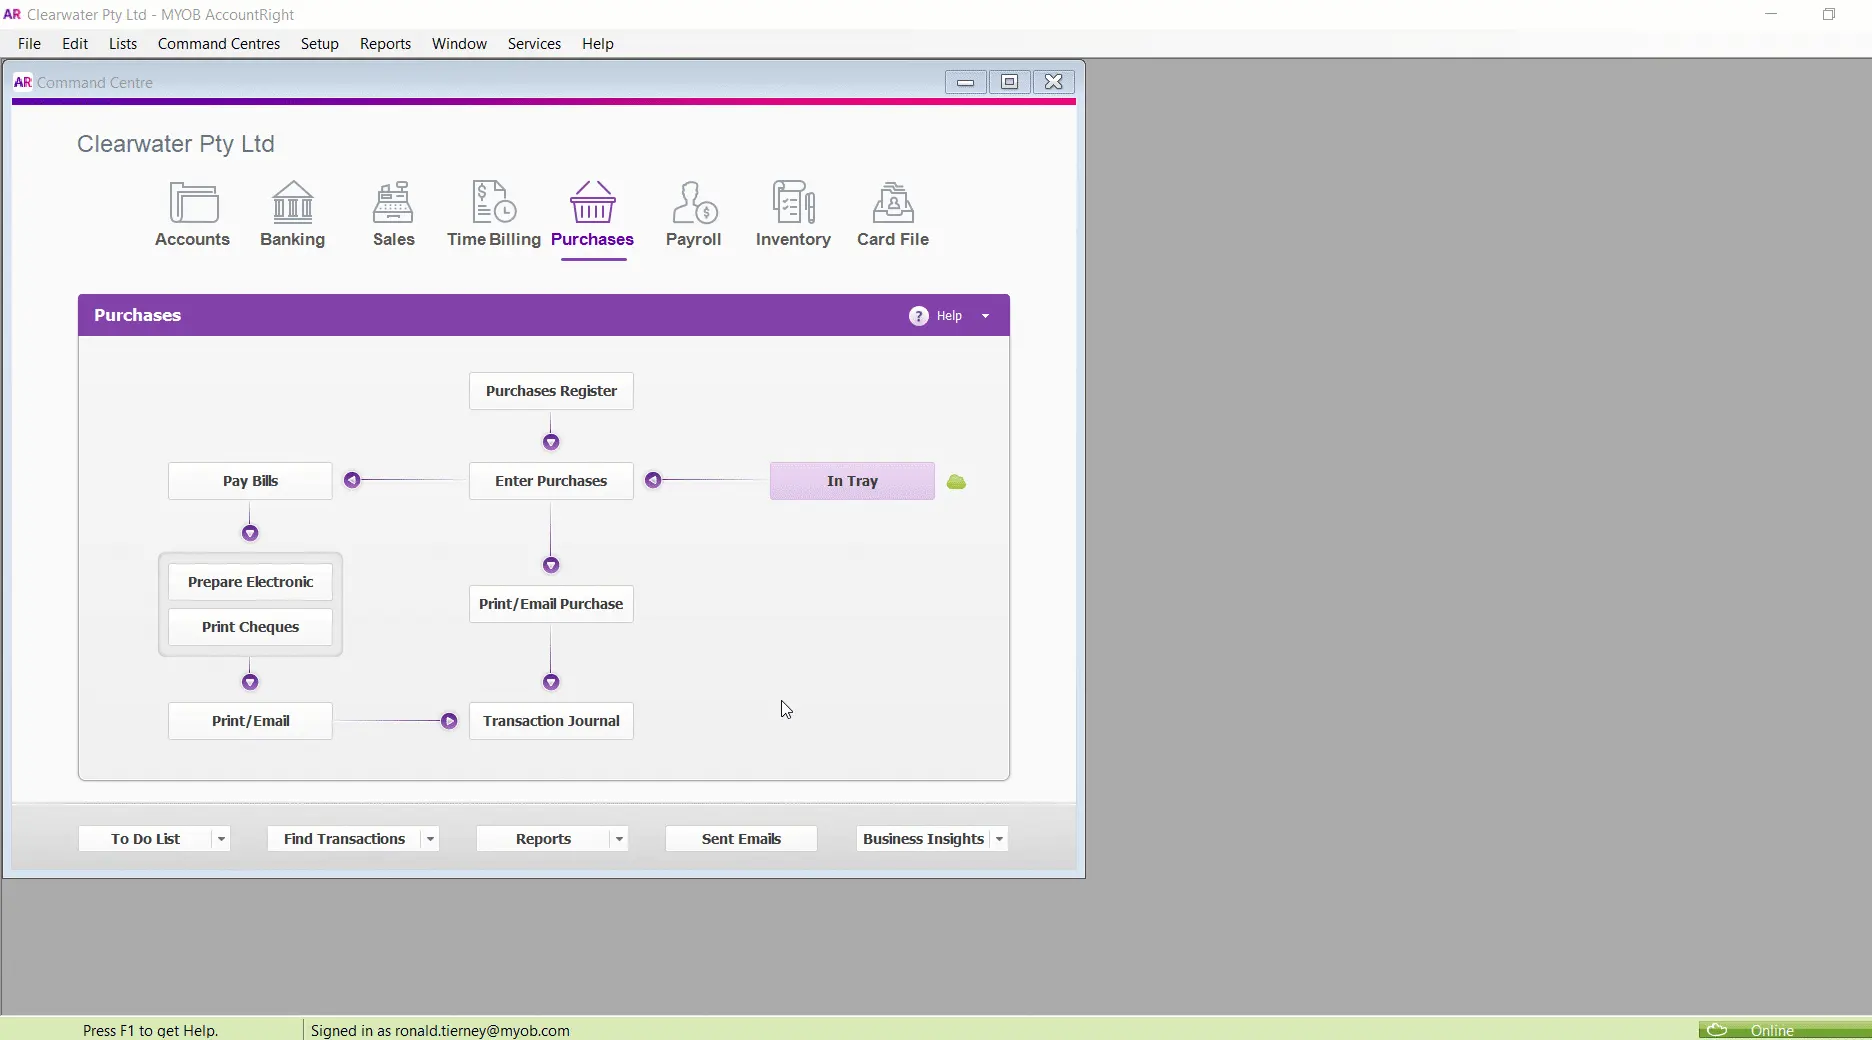
Go to the Purchases command centre and click In Tray. The In Tray window appears.

Add documents to your In Tray. There's a few ways to do it:
Drag and drop:
Click to select a file that's saved on your computer (.PDF, .JPG, .JPEG, .TIFF, .TIF, or .PNG).
Drag the file and drop it into the In Tray window. The file is added to your In Tray.
Click and browse:
On the In Tray window, click Add Documents. The Open window appears.
Click the file you want to add.
Click Open. The file is added to your In Tray.
Partner with suppliers - Whenever you shop with certain companies, like Reece or Officeworks, you can get your invoices from them sent directly to your In tray.
Email documents to your In Tray - see Emailing documents to your In Tray
Take a picture of a receipt and send it to your In Tray using the MYOB Capture app - see see Using the MYOB Capture app.

Creating bills using In Tray documents
If you haven’t had a chance to enter a bill transaction for a supplier invoice you’ve received, let AccountRight do the work for you.
Ensure your file is online, and checked in (look for the green status bar at the bottom of your AccountRight window).
Go to the Purchases window and click In Tray.
If you haven’t already, add the document to the In Tray:
If you drag the document to the In Tray, or click Add Documents, you’ll see the upload status, and a blue icon to indicate we’re working on getting it ready for you.
If you email the document, it will appear in the In Tray after a minute or two.
If you take a picture of the document and send it to your In Tray using the MYOB Capture app, you might need to click the Refresh ( ) button to make the document appear.
Select a document that’s ready to use (there’s no blue icon on the thumbnail), and click Create New Bill. If you can't see this button, click Switch Options to show it.
A purchase window appears with a thumbnail of the document in the right corner of the window.

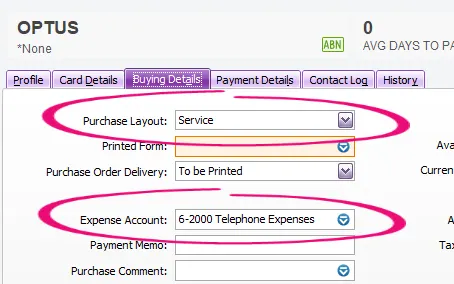
AccountRight will use the following information to prepare a bill for you:ABN - Used to select the Supplier. The default layout and account will then be used from the supplier card.
Issue date - Used to enter the Date
Due date - Used to set the terms of the bill
Amount - Used to enter line and total amounts
Invoice number - Used to enter the Supplier Inv No.
Note - Used enter a Comment (if you captured the document using the MYOB Capture app and added a note to it before you sent it to In Tray)
Check, and if necessary correct, the details that have been filled in for you. They’re highlighted in blue.
Click the Enlarge button to see the document details. This might help you fill in any missing details.
Record the purchase.


Creating spend money transactions using In Tray documents
Ensure your file is online, and checked in (look for the green status bar at the bottom of your AccountRight window).
Go to the Banking command centre and click In Tray.
If you haven’t already, add the document to the In Tray as described above.
Select a document that’s ready to use (there’s no blue icon on the thumbnail), and click Create New Spend Money. If you can't see this button, click Switch Options to show it.
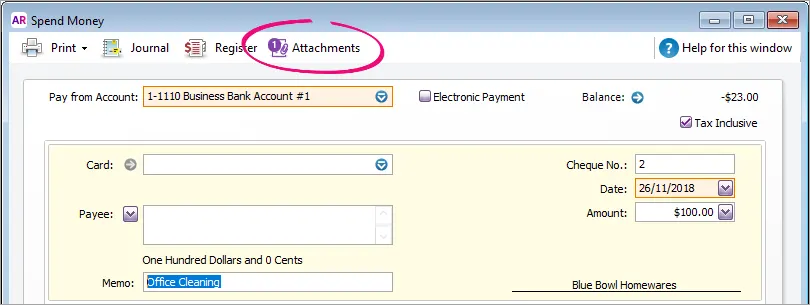
The Spend Money window appears. AccountRight uses optical character recognition (OCR) to read and automatically fill in as many of the fields on the bill as possible.
You then just need to check the details in the transaction that have been filled for you, complete the remaining details and click Record. The transaction is recorded and the document is attached to it. Spend money transactions with attached documents are indicated by an icon next to it.


Linking In Tray documents to existing bills
The In Tray shows you which documents haven’t been linked to a transaction yet. The documents are sorted by the date they were added. If you’ve already recorded a bill that relates to a supplier invoice, or converted an order into a bill, you can link them together. Want to attach a document when you're creating a bill? See Attaching documents to purchase transactions.
Ensure your file is online, and checked in (look for the green status bar at the bottom of your AccountRight window).
Go to the Purchases window and click In Tray.
If you haven’t already, add the document to the In Tray:
If you drag the document to the In Tray, or click Add Documents, you’ll see the upload status, and a blue icon to indicate we’re working on getting it ready for you.
If you email the document, it will appear in the In Tray after a minute or two.
Select a document that’s ready to use (there’s no blue icon on the thumbnail), and click Link to Existing Bill. If you can't see this button, click Switch Options to show it.
The Link to existing bill window appears.
If information was able to be extracted from the document, it will appear in the Invoice details section of the window. Click the magnifying glass icon next to the thumbnail to see a full version of the document.Select the supplier that the bill relates to in the Search Criteria section.
If you can't see the bill you want, you might need to select more options.
If you think the bill has:already been paid, select Show closed and returns to see closed bills
previously had a document attached to it, select Show bills with existing In tray documents.
Select the bill that you want to link the document to, and then click Link.
You can't link a document to a bill within a locked period. You'll need to either turn off the locked period preference (Setup > Preferences > Security tab), or change the locked period to an earlier date.
The document is now linked to the bill, and the thumbnail disappears from the In Tray window.

You can see which bills have a linked document in the Purchases Register (accessible from the Purchases command centre). Look for the document icon.

Linking In Tray documents to existing spend money transactions
The In Tray shows you which documents haven’t been linked to a transaction yet. The documents are sorted by the date they were added. If you’ve already recorded a spend money that relates to a document, you can link them together. If you want to attach a document when you're creating a spend money transaction, see Attaching documents to purchase transactions.
Ensure your file is online, and checked in (look for the green status bar at the bottom of your AccountRight window).
Go to the Purchases window and click In Tray.
If you haven’t already, add the document to the In Tray:
If you drag the document to the In Tray, or click Add Documents, you’ll see the upload status, and a blue icon to indicate we’re working on getting it ready for you.
If you email the document, it will appear in the In Tray after a minute or two.
Select a document that’s ready to use (there’s no blue icon on the thumbnail), and click Link to Existing Spend Money. If you can't see this button, click Switch Options to show it.
The Link to existing Spend Money window appears.
If information was able to be extracted from the document, it will appear in the Invoice details section of the window. Click the magnifying glass icon next to the thumbnail to see a full version of the document.
Select the Payee the spend money relates to.
If you can't see the spend money you want, specify a date range
Select the spend money that you want to link the document to, and then click Link.
You can't link a document to a spend money within a locked period. You'll need to either turn off the locked period preference (Setup > Preferences > Security tab), or change the locked period to an earlier date.
You can't link a document to a spend money within a locked period. You'll need to either turn off the locked period preference (Setup > Preferences > Security tab), or change the locked period to an earlier date.
The document is now linked to the spend money, and the thumbnail disappears from the In Tray window.


Unlinking In Tray documents from bills
If you've linked a document to the wrong bill, you can remove the document and return it to the In Tray.
Open the bill with the attachment. Need help finding the bill?
Click Attachments.
Click the attachment to be unlinked, then click Remove.

Click OK to the confirmation message. The attachment is unlinked from the bill and returned to the In Tray.


Viewing, downloading and printing In Tray documents
While you’re working online, you can view the full details of documents you’ve added to AccountRight. In Tray documents are sorted by the date they were added.
Just click the Enlarge button (the magnifying glass) in the In Tray or in a purchase that has a linked document. The Enlarged window appears.

Use the Zoom In ( ) and Zoom Out ( ) icons to change the magnification of the document, or select a zoom percentage from the dropdown list.
To download a document (one at a time), click the Save icon in the Enlarged window, and give the file you’re about to download a name (it will be a PDF file, even if you uploaded it as an image file).
Once downloaded, you can view or print them using any PDF viewer or attach them to emails.
Deleting documents from the In Tray
When you delete a document from the In Tray, it's permanently removed and can't be recovered. If you'd like to keep a copy of a document you're going to delete, download it first (see above).
Go to the Purchases window and click In Tray.
Click to select the document you want to delete.
Click Delete.
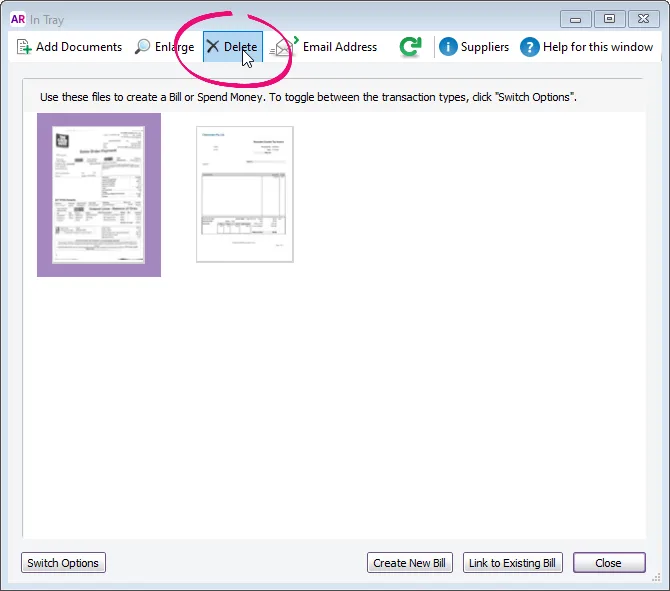
The document is deleted from the In tray.

FAQs
Why doesn't prefilling of fields work for some documents I add?
Ensure that the text print on your documents is clear and sharp. If you’re adding scanned documents, try increasing the scan resolution or the darkness if it’s too light. We’re continuing to tweak the OCR feature so that it can recognise more characters and fonts, so you can expect it to get better over time.
Make sure the In Tray document is ready for use (there isn't a blue icon on it) before linking it to an existing bill or creating a new bill.
Do you have an Officeworks 30 Day Business Account?
You can have your Officeworks invoices sent straight to your AccountRight In Tray.
How can I stop someone from accessing the In Tray?
You can control access to the In Tray for each user from the User Access window (Setup menu). Click the Manage Roles tab and in the list of Purchases tasks, deselect the In Tray option.
Can I link more than one document to a bill?
You sure can. Find out how.
Why can't I click the Create New Bill or Link to Existing Bill buttons?
After uploading a bill to your In Tray, click the Refresh ( ) button at the top of the window to activate these buttons.
Why can't I see the Email Address button in the In Tray window?
Your display settings may be hiding the Email Address button. If you expand the In Tray window, the Email Address button will appear (click the animated image to expand it):
To ensure AccountRight displays buttons and windows properly, you need to change your display settings.
What is MYOB to MYOB?
Working with a fellow MYOB user? Now with MYOB to MYOB, you can link accounts so that any invoices you receive from another MYOB business will go straight to your In tray.

All you need to do is go to an invoice from that business and select Link to MYOB. Now all of your future invoices from that business will be sent to your In tray.
To stop invoices from particular businesses being sent to your In tray, just open up another email from that business and select Unlink from MYOB.
