Child pages
  • Adding, editing and deleting customers and suppliers

Versions Compared

Key

  • This line was added.
  • This line was removed.
  • Formatting was changed.
HTML Wrap
classsection group
HTML
<span data-swiftype-index="true">
HTML Wrap
classcol span_3_of_5

You can manage your customers and suppliers from the Contacts page. On this page, you can add, edit and delete contacts, mark contacts as reportable (if applicable) and search for contacts.

UI Text Box
typetip

Import contacts

If you’ve previously used MYOB BusinessBasics or MYOB AccountRight, you can export your contacts from your company file and mport them into MYOB Essentials.

For more information, see Import/Export.


UI Expand
titleTo add a customer or supplier

To add a customer or supplier

From the dashboard, the quickest way to access the Create contact page is from the Contacts drop down menu.

Contacts menu with create contact option highlighted

To add a contact from the Contacts page, click the Create contact button.

Contacts page with create contact button highlighted

You can also add contacts quickly when you create sales or purchases. Simply choose the Add option from the drop down menu that appears when you enter your customer or supplier. For more information, see Using contacts in transactions.

However you access the Contact page, you'll be able to record the contact details using as much or as little details as you like. The only required information is the type of contact, whether they are a business or an individual person, and their name. For more information about the information you can store for a contact, see Viewing and entering contact information.

UI Text Box
typenote

Customers or suppliers with an opening credit balance

If you're setting up a customer or supplier who has a credit balance, create the contact as described above then create a customer return or supplier return to record their credit balance. When creating the return you'll need to enter the Allocate to account. This account will be specific to your business, so check with your accounting advisor if unsure.

UI Expand
titleTo edit a customer or supplier

To edit a customer or supplier

To edit a contact, click their name in the list of contacts. The Contact page appears, where you can edit the contact’s details. You can change any of the details shown on this page, including their name and the contact type. When you’re done, click Save.

Contact page with contact details entered

For more information about the information you can store for a contact, see Viewing and entering contact information.

UI Expand
titleTo delete a customer or supplier

To delete a customer or supplier

When you delete a contact, it is removed along with all the information stored in the contact record. Instead of deleting contacts, it’s usually better to make them inactive. This removes them from reports and some selection lists, but you’ll be able to recover the information later if you need it.

You can’t delete a contact if it has ever been used in a transaction. If you no longer want to use a contact, you can make it inactive instead. See Inactivating and activating a customer or supplier.

To delete a contact, select it by clicking the box next to its name in the list, then click Delete. If you want, you can select more than one contact at a time and delete them all at once.
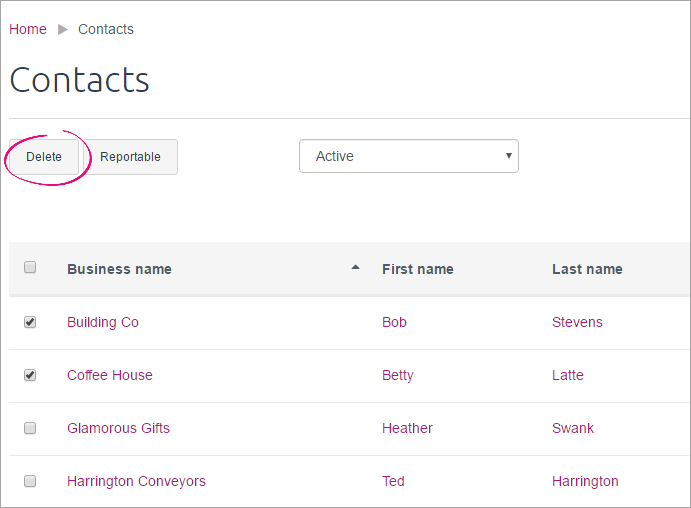
Contacts page with delete button highlighted

You can also delete a contact you’re currently viewing by clicking the Delete button on the Contact page.
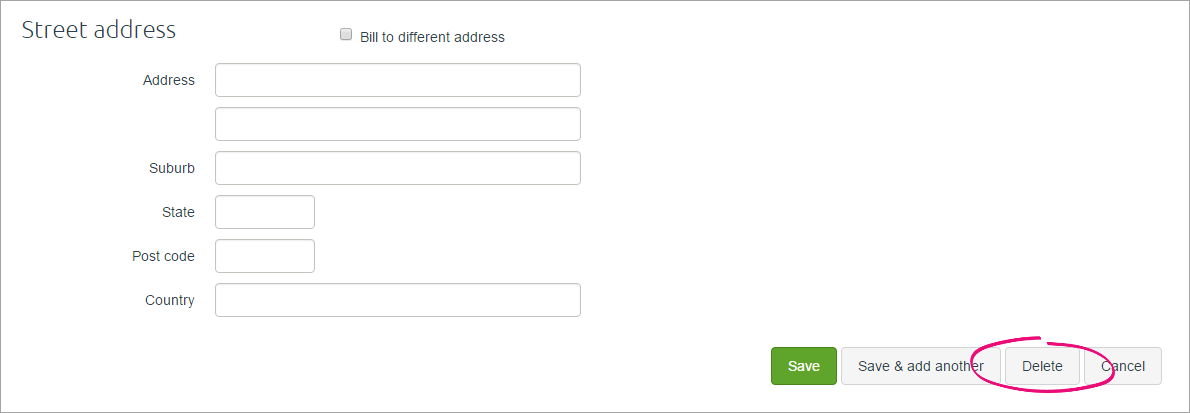
Contact page with delete button highlighted

UI Text Box
typenote

Email a contact

It’s easy to send an email to your contacts, directly from your contacts list. If you’ve entered their email address, an envelope icon appears in the email column. You can hover over the icon to view their email address.

Contacts page with envelope icons in email column

You can also click the email icon to open your default email software and create a new email to send to them.

HTML
<div style="display: none;" data-swiftype-name="keywords" data-swiftype-type="enum">change address</div>
</span>
HTML Wrap
width15%
classcol span_1_of_5
 
HTML Wrap
floatleft
classcol span_1_of_5
Panelbox
namemagenta
titleRelated topics
HTML Wrap
classsidebarlinks

ContactsCustomers and suppliers

Viewing and entering contact information

Finding a customer or supplier

Using contacts in transactions

Analysing your contacts

Panelbox
nameyellow
titleFrom the community

RSS Feed
titleBarfalse
max5
showTitlesOnlytrue
urlhttp://community.myob.com/myob/rss/search?q=contacts&filter=labels%2Clocation%2CsolvedThreads&location=forum-board%3AEssentialsAccounting&nospellcheck=true&search_type=thread&solved=true

HTML Wrap
classmorelinks
More »