AccountRight Plus and Premier online company files, Australia only If you've manually set up an employee by entering all their details yourself (instead of the employee self-onboarding), or if they'd like to update their details at any time, you can send the employee a secure request to review their details. The employee can then correct anything that's wrong or missing, and submit any changes straight into your AccountRight company file*. This request is sent via email and an optional text message to ensure the employee sees it – and responds – as soon as possible. What the employee seesThe employee will receive an email similar to this one (and a text message if you entered their mobile number) containing a link to a secure online form. 
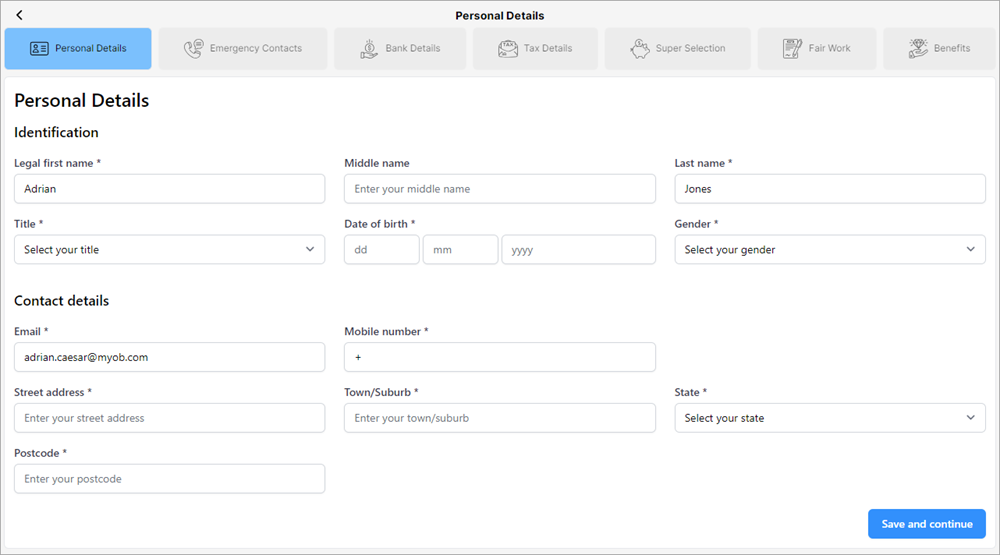
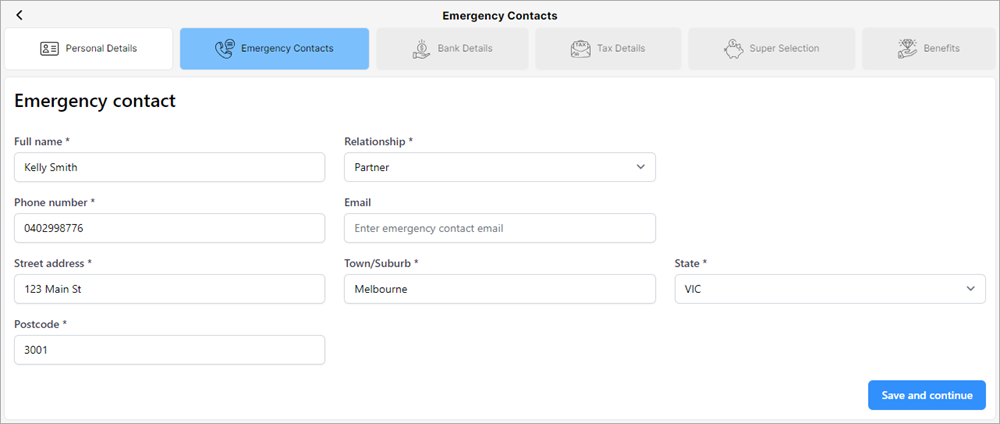
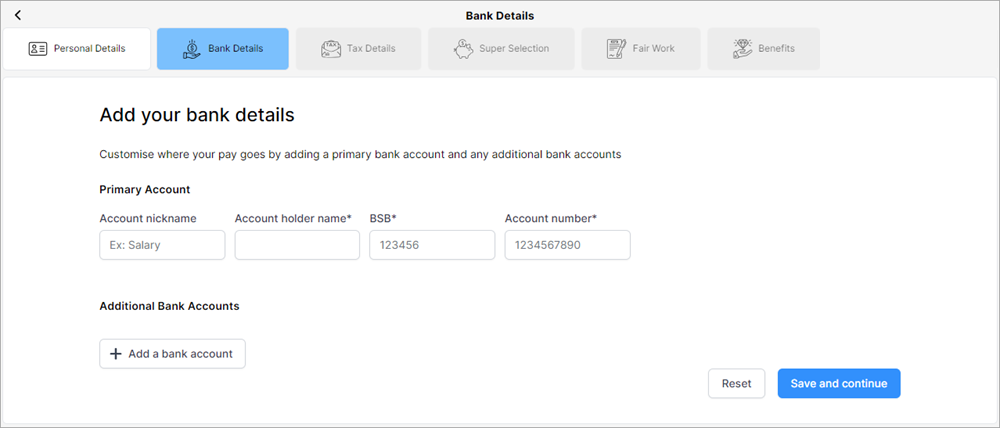
When they open the form, they'll see their details from AccountRight. They can double-check what's there, make any changes or enter any missing information (fields marked with an asterisk are mandatory). They can click Save and continue to progress to the next tab, until finally submitting the info. Note that some tabs might not be shown, depending on the information the employee might need to complete. For example, if you've already entered a valid tax file number for them into AccountRight, the Tax details tab won't be shown. | UI Tabs |
|---|
| UI Tab |
|---|
| 
|
| UI Tab |
|---|
| 
|
| UI Tab |
|---|
| 
|
| UI Tab |
|---|
| This tab will only be available if the employee doesn't have a valid tax file number in AccountRight. 
|
| UI Tab |
|---|
| First screen: 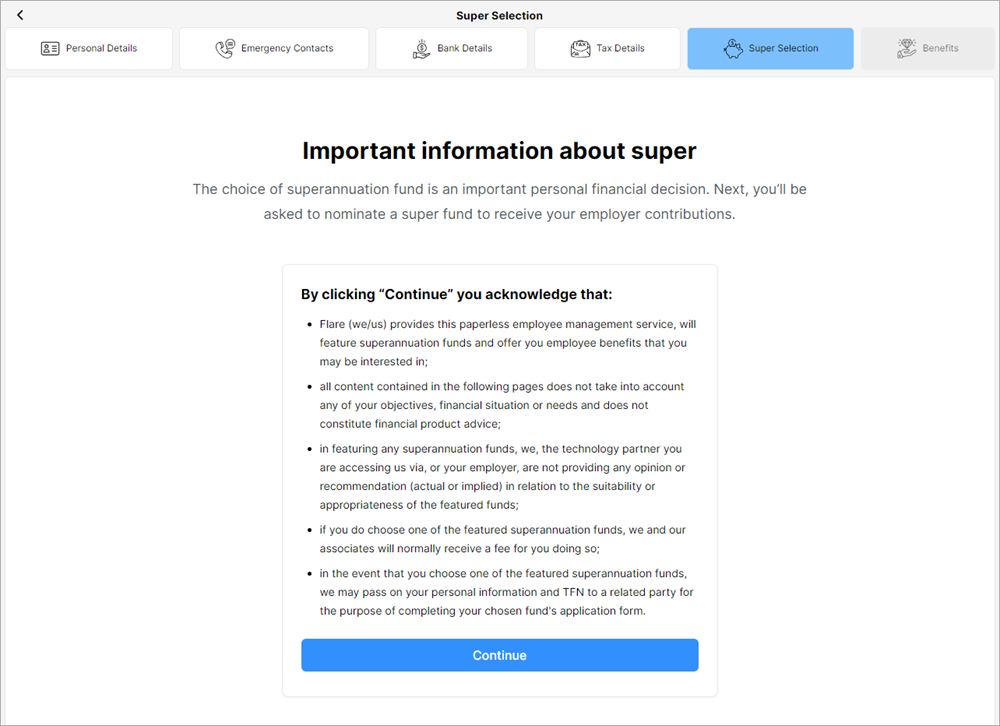
After clicking Continue: 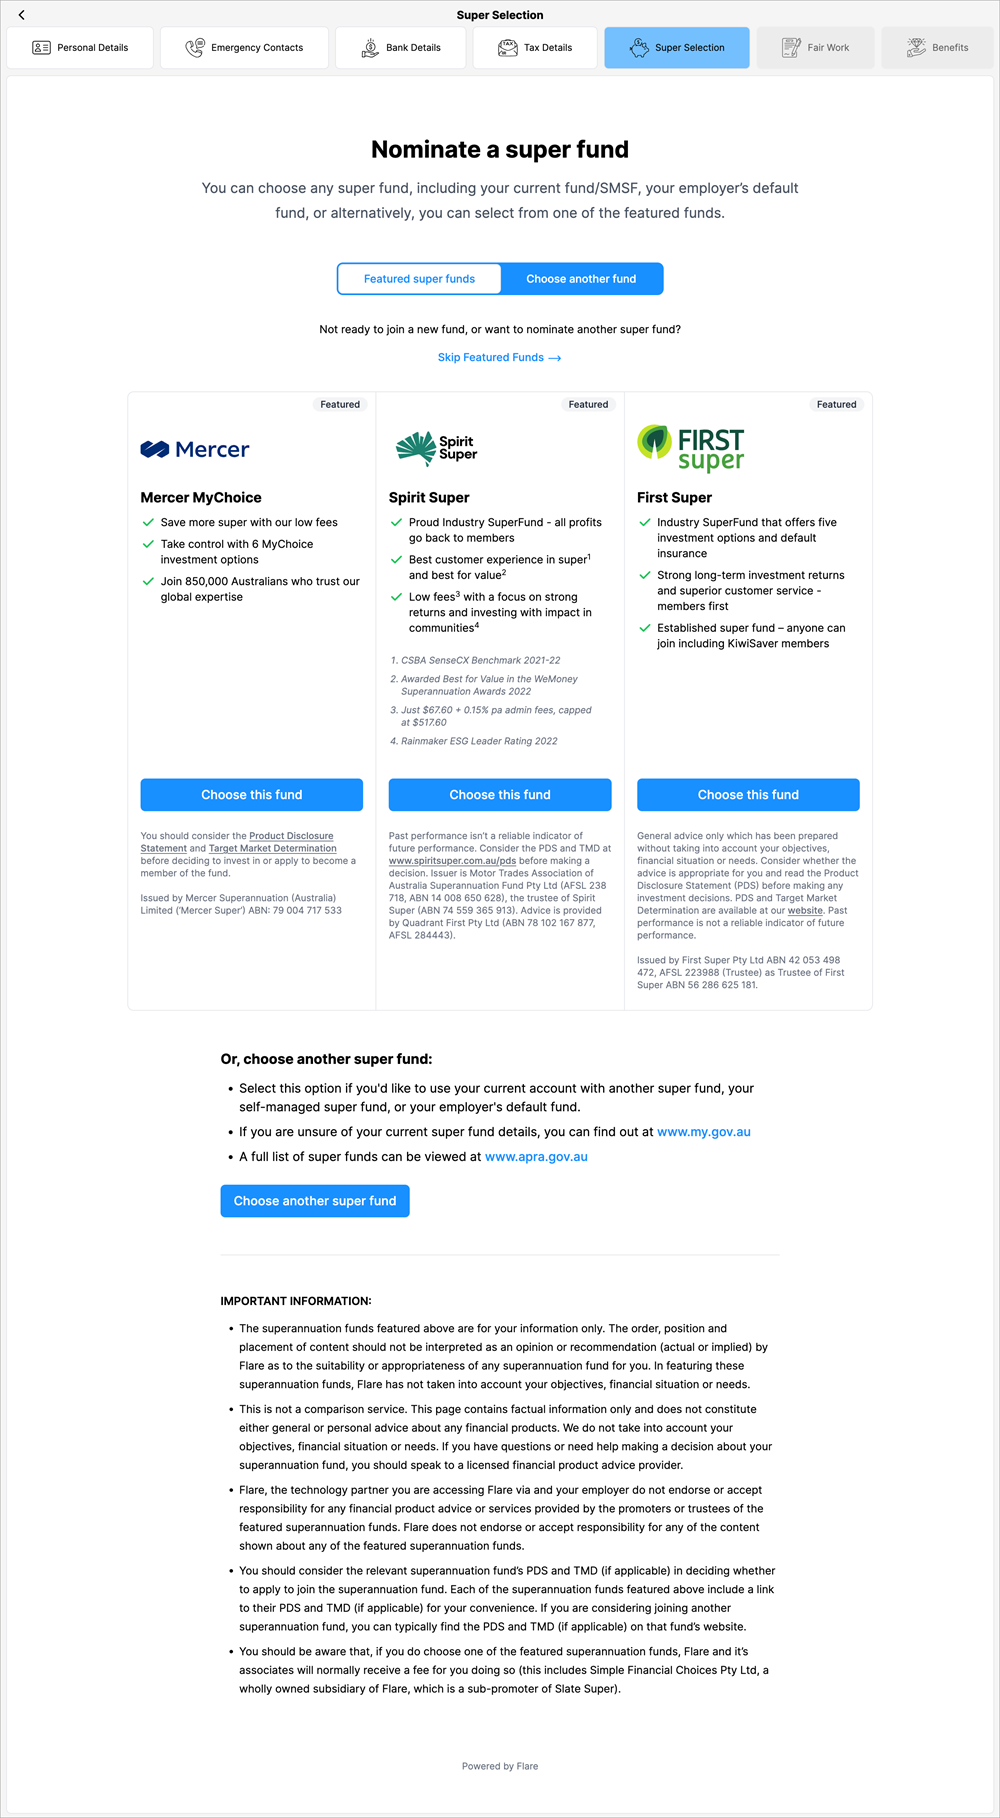
| UI Text Box |
|---|
| Any superannuation funds that may be referenced anywhere in in this onboarding help document are strictly for example purposes only. MYOB does not endorse or promote any these super funds. |
|
| UI Tab |
|---|
| First screen: 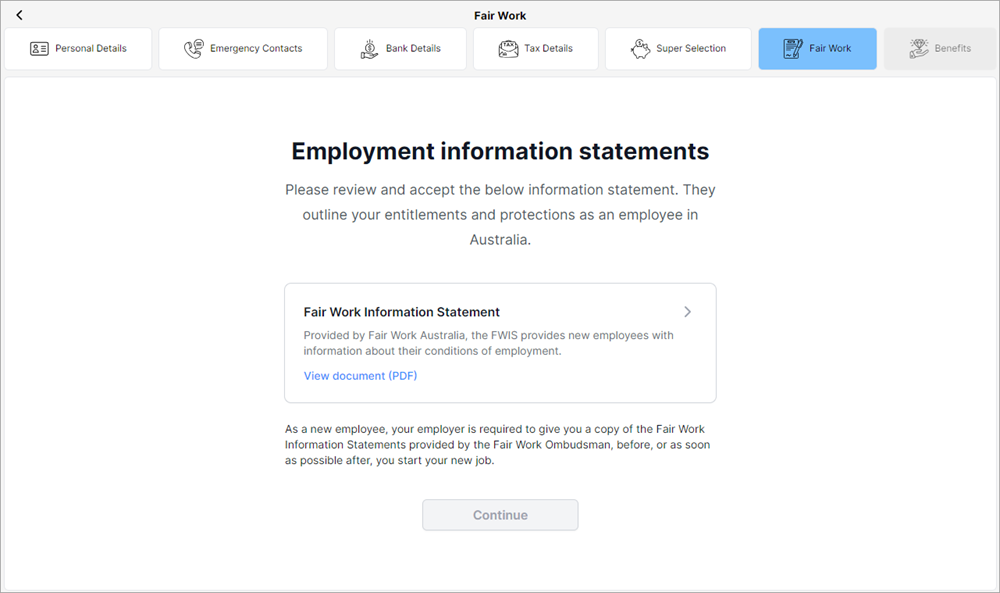
After clicking Fair Work Information Statement. Employee must click through to read all pages, then click Accept to be able to continue. 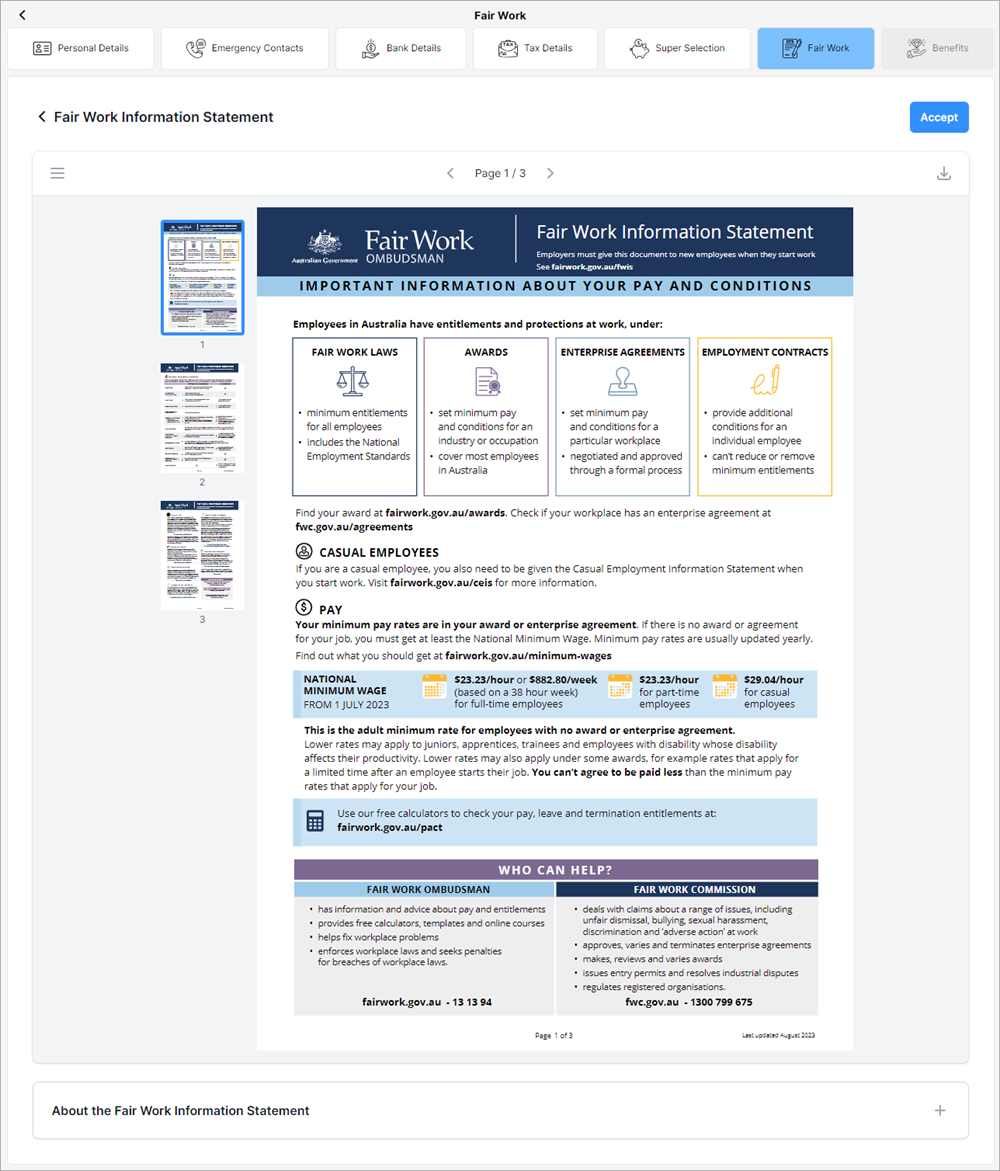
|
|
Once the employee has completed the review and entered all mandatory information, they can click Submit. 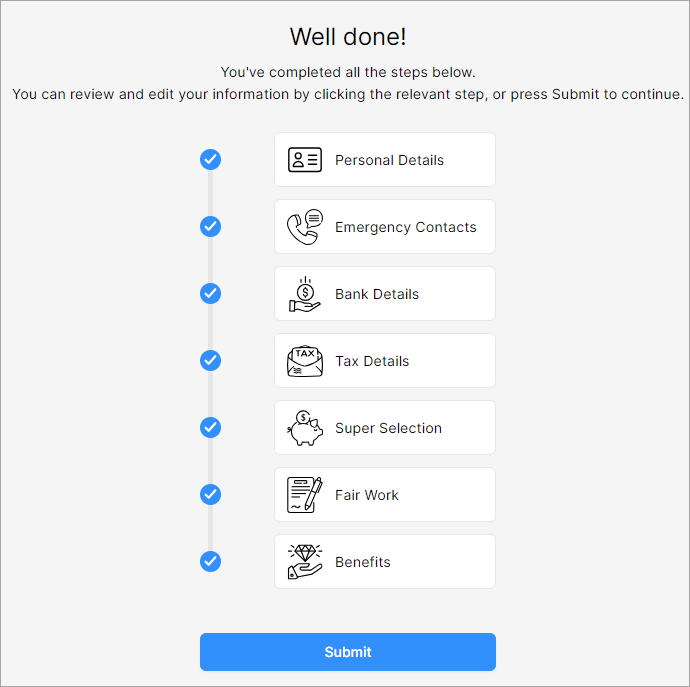
| UI Text Box |
|---|
| *This service is provided by our related entity Flare HR Pty. Ltd. |
| 


