- Created by admin, last modified by AdrianC on Oct 23, 2018
You are viewing an old version of this page. View the current version.
Compare with Current View Page History
« Previous Version 42 Next »
https://help.myob.com/wiki/x/c0LnAQ
How satisfied are you with our online help?*
Just these help pages, not phone support or the product itself
Why did you give this rating?
Anything else you want to tell us about the help?
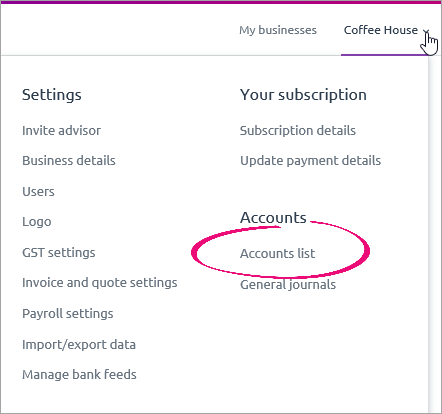
From the Accounts List page (accessible by clicking your business name and choosing Accounts list), you can add, edit and delete accounts (or, make them inactive).

Before adding a new account, note the account names and numbers of the existing accounts in the list. They’re based on a numbering system which groups accounts by their Account Type. The existing names and numbers will help you choose appropriate account names and numbers when adding or editing accounts.
Using the Accounts list
The new Accounts list is the default list view when you access your Accounts list.
To add an account
- In MYOB Essentials, click your business name and choose Accounts list.
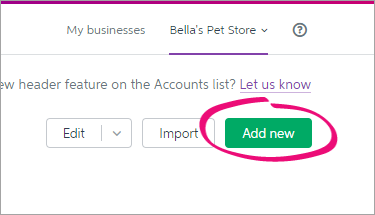
- Click Add new. The Add new box appears, in the Accounts tab.

Enter a unique Account Number.
Don’t use your real account number for bank and credit card accounts
The number you enter here is only used for tracking the account in MYOB Essentials. You don’t need to use your real bank or credit card account number.
- Enter an unique and meaningful Account Name.
- Select an Account Type from the list.
- Select a Tax Rate from the list.
- Enter an Opening Balance for the account. For more information see Entering opening balances.
- If you want to add more than one account, click into any of the empty fields below and repeat steps 3-7.
A new blank line will automatically appear below with each new account entered. - Click Save to add the accounts.
To edit an account
In MYOB Essentials, access your Accounts list (click your business name and choose Accounts list).
To edit an individual account
- Click the ellipses button
 and select Edit. The Edit account window appears.

- You can edit the Account number, Account name, Type, Tax rate, and Opening balance of your accounts, with the exception of locked accounts (those marked with a padlock
 ). Locked accounts, and accounts with a Current balance, cannot change Type or Tax rate.
 - Click Save to save your changes.
To edit multiple accounts
- From the A ccounts list, click Edit accounts. The Edit accounts page appears.

- If you’ve made any accounts inactive and want to exclude them from the list, deselect Show Inactive Accounts.
In the accounts list, you can edit the Account number, Account name, Type, Tax rate, Opening balance and Active status of your accounts, with the exception of locked accounts (those marked with a padlock
 ). Locked accounts, and accounts with a Current balance, cannot change Type or Tax rate.
The Current Balance field cannot be edited.
Make any changes to your accounts.
If you edit the Account Number, make sure that the new number is within the range used for the Account Type used by this account. For more information see Accounts List .
Need to change your opening balance date?
Click your current Opening Balances date to bring up the Change opening balance date window.
Select your new opening balance date, and click Save when finished.
Note that if you change the opening balance date, make sure you check that the opening balances for your accounts are correct.
- Click Save to save your changes.
To delete an account
When you delete accounts, they’re removed along with all their details. Instead of deleting accounts, we recommend that you make them inactive. For more information see To make an account inactive.
Accounts that can't be deleted
You can’t delete locked accounts—that is, system accounts with a locked icon (  ). You also can’t delete accounts that have been used in transactions, or accounts for which you’ve imported bank statements. Instead, you can make these accounts inactive. For more information, see To make an account inactive.
- In MYOB Essentials, click your business name and choose Accounts list.
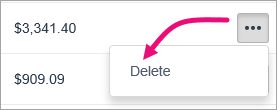
- In the accounts list, find the account you want to delete and click the ellipses button (...) on the far right.

- Click Delete.
A confirmation message appears. - Click Delete Account to delete the account.
To make an account inactive
When you make accounts inactive, they’re removed from some selection lists so they can't be used in transactions. They also won't display in some reports, unless the report has the option to Show inactive accounts.
Inactive accounts retain details you may need some day. This is in contrast to deleted accounts, which are removed along with all their details. For more information see To delete an account.
You can make an inactive account active again at any time by editing the account and selecting the Active option.
- In MYOB Essentials, click your business name and choose Accounts list.
- Click Edit accounts. The Edit accounts page appears.
- In the accounts list, find the account you want to make inactive and deselect Active.

- Click Save to save your changes.
To map system accounts (MYOB Partners only)
MYOB Essentials has certain accounts called system accounts. These are used for specific tasks in MYOB Essentials, such as GST reporting. They appear with a lock icon  and cannot be deleted.
After importing an accounts list or migrating from MYOB BankLink, some system accounts will have a matching imported account, sometimes with a similar name and function.
The mapping process will update the system account with information from the imported account (such as the account number, account name and opening balance).
Mapping accounts is only recommended if you recently imported an accounts list or migrated from MYOB BankLink.
- In MYOB Essentials, click your business name and choose Accounts list.
- Look for pairs of system accounts and matching imported accounts.
- Click the More (
 ) button next to the imported account and choose Map to system account.

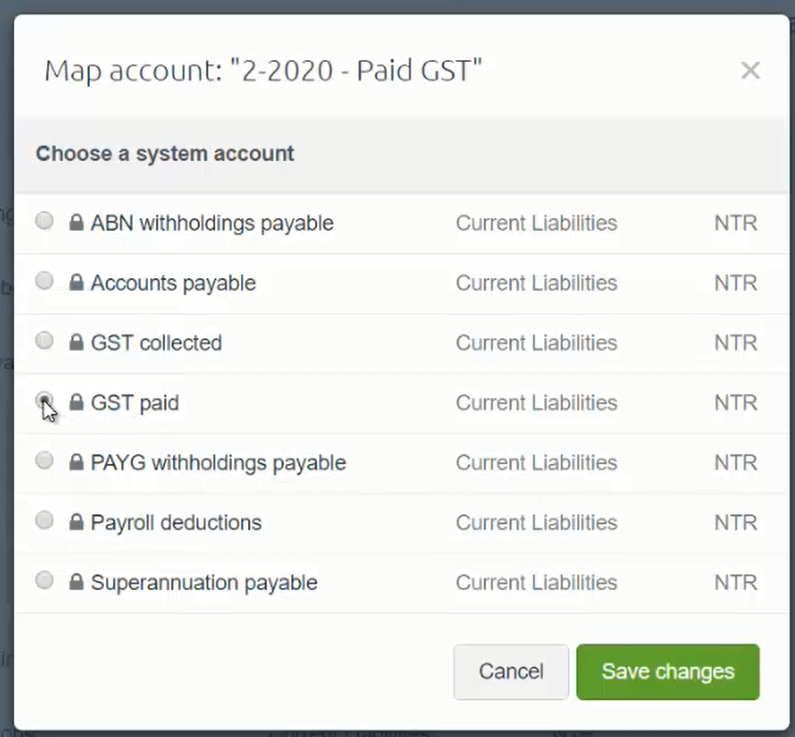
A list of system accounts will appear in a new window.
- In the window that appears, select the matching system account and click Save changes.

The system account will now be updated with all the information. - Now, delete the imported account:
- Click the More (
 ) button next to the imported account and choose Delete.
A confirmation message appears - Click Delete account.
- Click the More (
- Repeat the above mapping process for all pairs of imported and system accounts.

 Yes
Yes
 No
No
 Thanks for your feedback.