Not available in AccountRight Basics
A packing slip, sometimes called a delivery docket, is a printed list of inventory items to be picked for dispatch, or included with a dispatched order.
Put simply, a packing slip identifies "what's in the box".
You can print a packing slip for sales (invoices, quotes and orders) which have been entered using the Service, Item or Professional layout. Learn more about sale layouts.

To print a packing slip
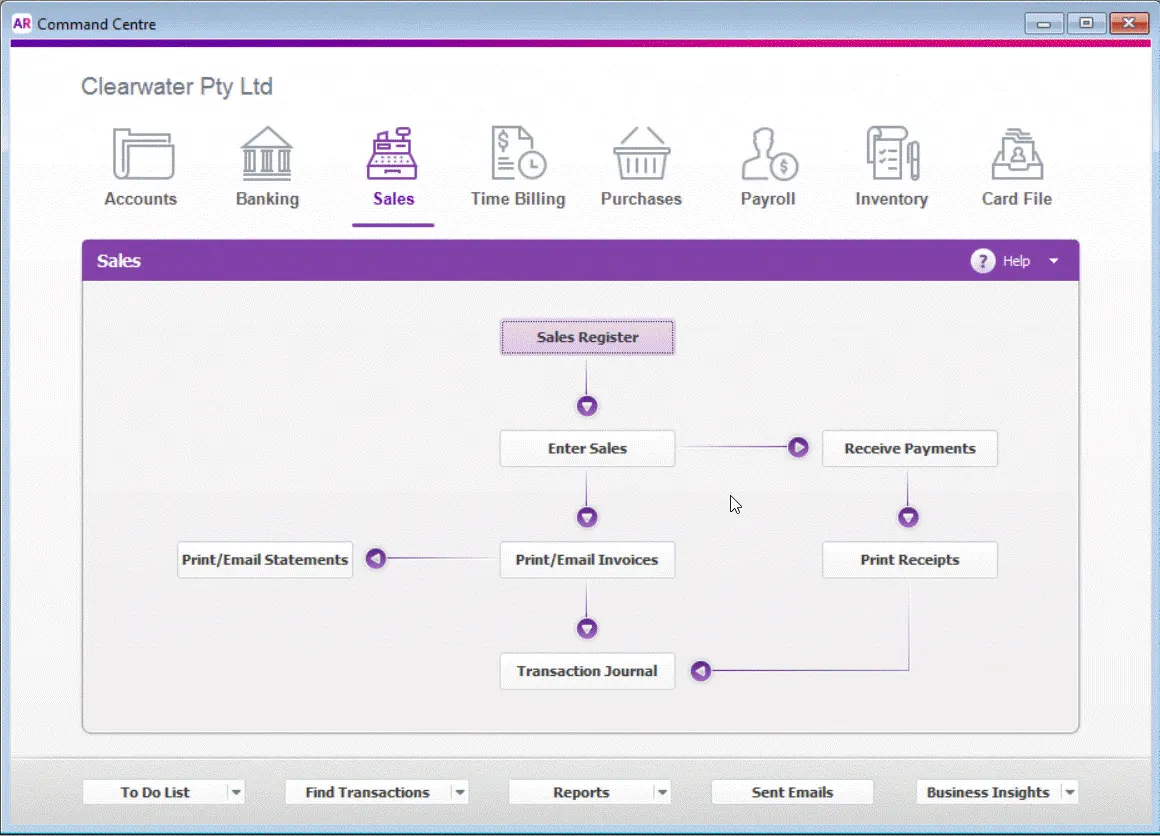
Go to the Sales command centre and click Print/Email invoices.
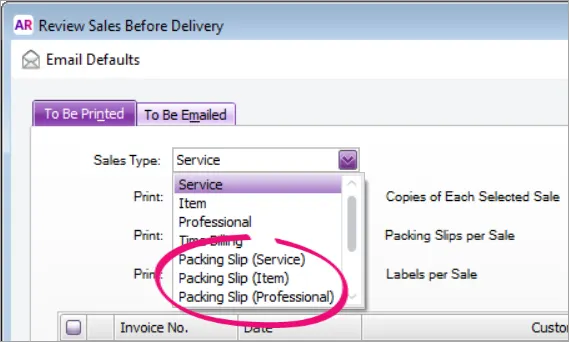
In the Sales Type field, select the applicable Packing Slip. This is based on the layout used for the sale (Service, Item or Professional).
The associated sales will be listed.
If you want to:
print a packing slip for an order or quote: click Advanced Filters and change the Sale Status to Orders or Quotes.
re-print a packing slip for a sale which has already been printed: click Advanced Filters and deselect the option Unprinted or Unsent Sales Only.
Select the sales for which you want to print packing slips.
Click Print.

Automatically print packing slips
You can automatically print a packing slip at the same time you print an invoice or order by selecting this preference (Setup menu > Preferences > Sales tab).

This is a user-specific preference so needs to be turned on for each company file user who needs it.
To email packing slips
While you can't email packing slips directly from AccountRight, you can use third-party software to "print" (save) the packing slip as a PDF which you can then attach to an email. Windows 10 has a built-in Print as a PDF option which is available when printing, or you can use a program like Adobe Acrobat or CutePDF to provide the ability to print (save) documents as PDFs.
Once you have the ability to print to PDF, when printing the packing slip in AccountRight and you're prompted to choose a printer, choose the PDF printer from the list of printers. This saves the packing slip as a PDF which you can then attach to an email.
If you'd like AccountRight to include a function to email packing slips, vote for this feature on the AccountRight Idea Exchange.
To customise a packing slip form
AccountRight comes with default packing slip forms which you can customise to change the look and feel and modify what's displayed.
Go to the Setup menu and choose Customise Forms. The Customise Forms window appears.
Click the Invoices tab on the left.
Select the packing slip form you want to customise then click Customise. The form opens, ready to be modified.

Customise the form to suit your needs. Here's some guidance. If you want to add a:
add a business logo, see Add pictures and shapes to forms
add text or fields, see Add text and fields to forms
modify table columns, see Add tables to forms
change the form size or background, see Set the form size and background
modify the text, fields and images, see Editing form elements
To preview your form, click the Print Preview tab.
When you've finished customising your form, go to the File menu and click Save As. The Save Form As window appears:
Enter a name and a description for the form.
Click Save then click OK to the confirmation message.
To close the form, go to the File menu and choose Exit. If prompted to save again, click No.
The Form window reappears. Your customised packing slip will be listed.


To choose which packing slip form to use
You can choose which form you want to use when printing your packing slips. This will be set as the default form to use for packing slips, but you can change it any time.
Go to the Sales command centre and click Print/Email Invoices.
Click Advanced Filters.
In the Sale Type field, select the applicable Packing Slip. This is based on the layout used for the sale.
In the Selected Form for Sale field, select the packing slip form you want to use.
Click OK.