An AccountRight company file contains all your business data. When you create a company file, you'll enter information about your business, such as the business name, contact details and financial year. Then when you record transactions, they're stored in your company file.
If you like, you can explore AccountRight's sample company file at any time. But when you're ready, use AccountRight's New Company File Assistant to help you create your own.
Let's step you through it.
Additional company files
You can buy additional company files to use with AccountRight. For pricing details, check our website (click the FAQs tab here: Australia | New Zealand).To buy additional company files or add online services to another company file, please contact us (scroll down on the Contact Us page for options).
To create a company file
Start AccountRight. The Welcome window appears.
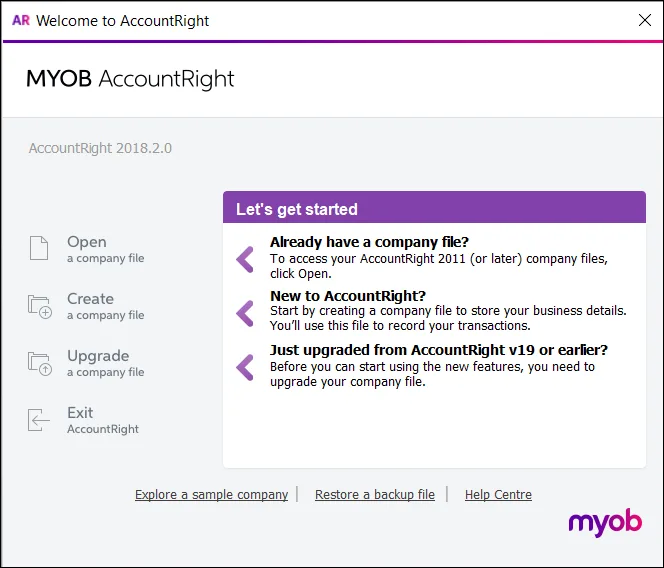
Click Create a company file. The New Company File Assistant appears.
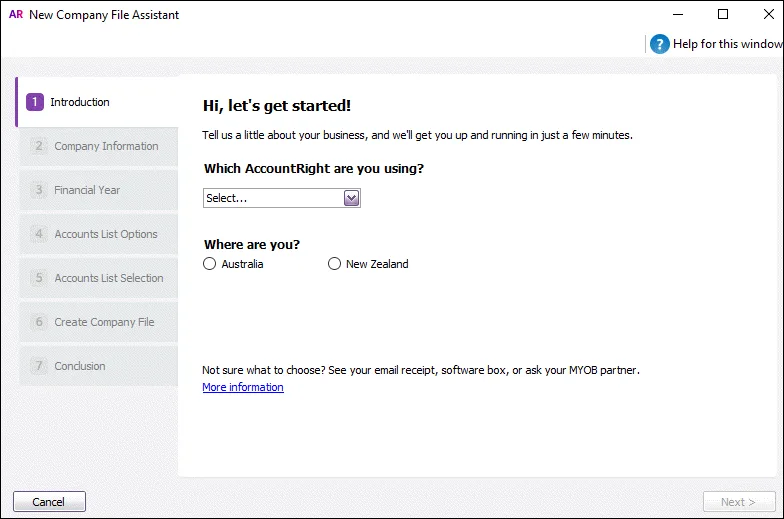
Select the AccountRight product you want to create a company file for. Make sure you select the product you're licensed to use, unless you want to try out another AccountRight product.
If you're not licensed to use the selected product, the company file can only be edited for 30 days, after which it will become a read-only file.
For example, if you purchased AccountRight Plus, and choose to create an AccountRight Premier file, the file can only be used for 30 days.
Select whether your business operates in Australia or New Zealand.
Click Next. The Company Information window appears.
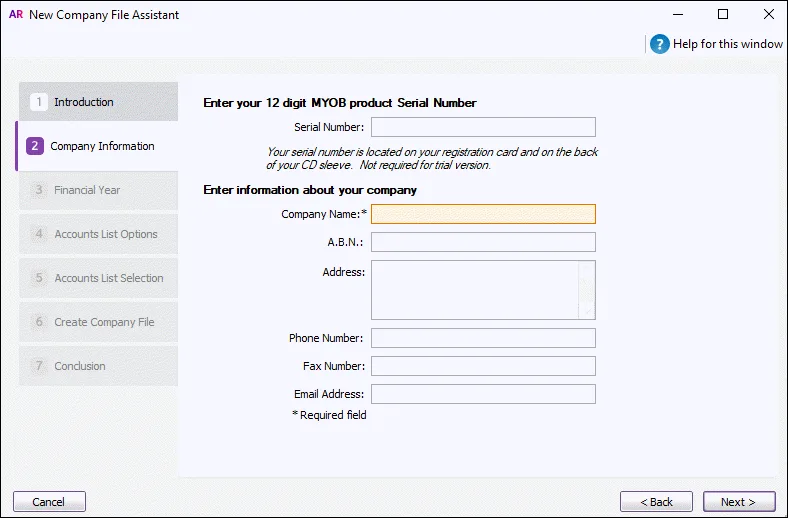
Enter your business contact and registration details.
If you have it handy, also enter your AccountRight serial number.Click Next. The Financial Year window appears.
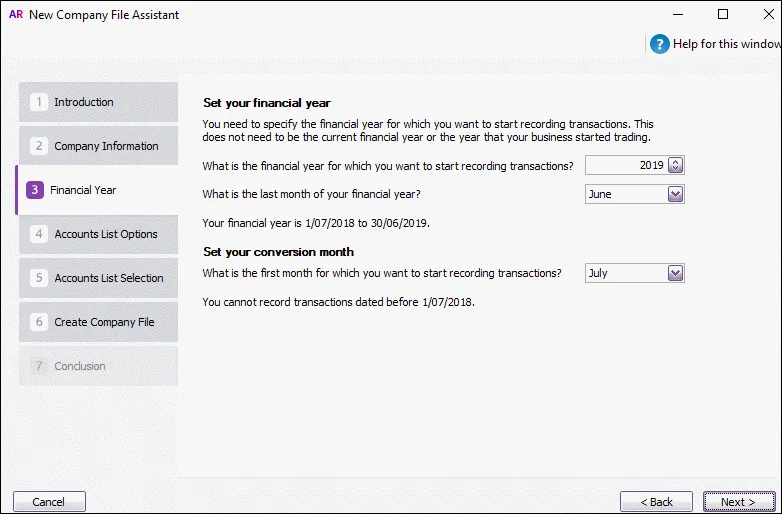
Enter the financial year for which you want to start recording transactions in your company file.
For example, if your financial year ends in June 2022, your financial year is 2022.Select your conversion month.
You won't be able to enter transactions dated before the conversion month, and you can't change the month after you've created the file. So make sure you choose the correct conversion month.
Click Next. The Accounts List Options window appears.
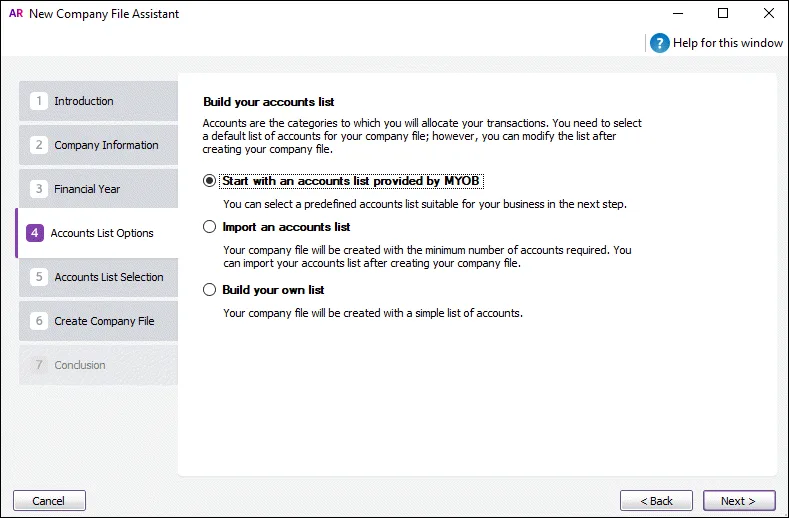
Select the default accounts list you want to start with (you can modify your list after creating your file). If you choose to
start with an accounts list provided by MYOB, continue with step 12
You can select a predefined accounts list suitable for your business, and change it later.
import a list of accounts, continue with step 14
You can import an accounts list from another company file or from one that's been provided by your accountant or MYOB consultant.
build your own list, continue with step 14
You can start with an accounts list that has the minimum accounts required by your AccountRight software and then add to it.
Click Next. The Accounts List Selection window appears.
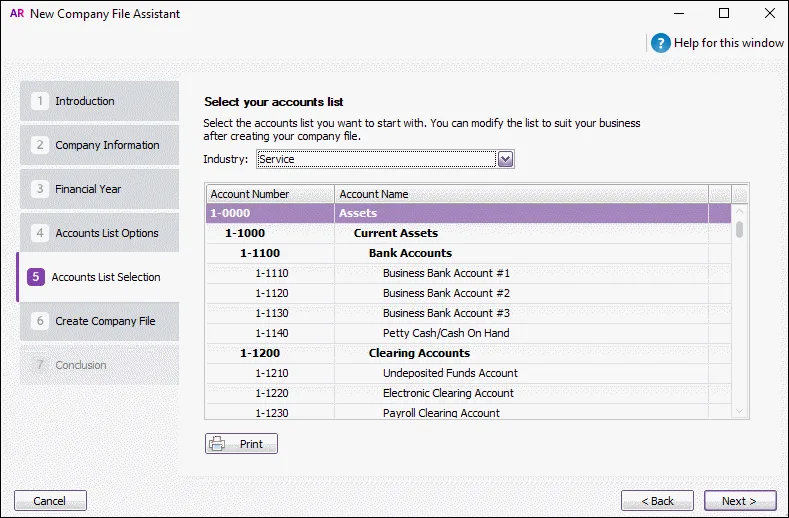
Select the industry that best matches your own business. For example, if you're in the food catering business, select Retail; if you're a plumber, select Construction and Building.
A suitable accounts list for the industry you selected appears. Later you can tailor the list to meet the needs of your business.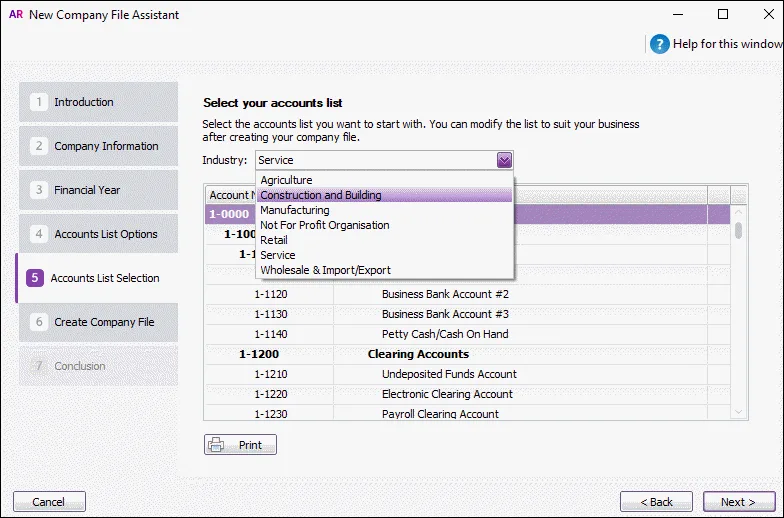
Click Next. The Create Company File window appears.
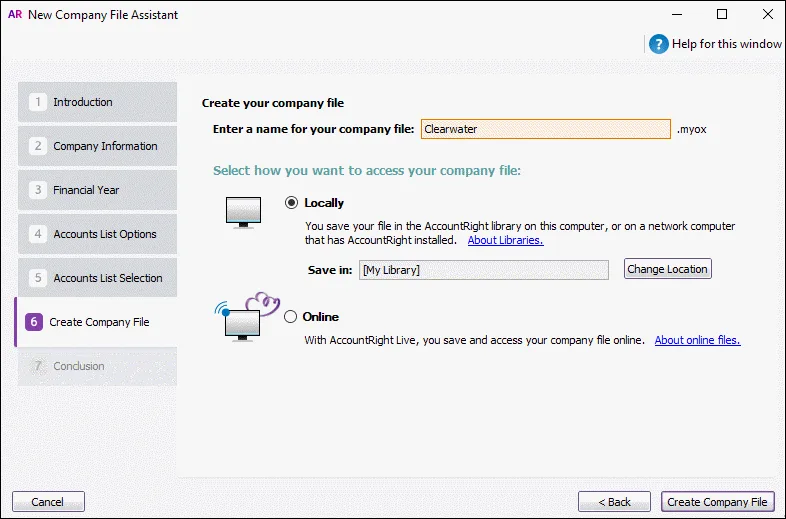
If you want to change your company file name, you can edit it in the Company File Name field.
Select where you want to store your company file. To save the file..
on your computer
Select the Locally option and click Create Company File. The file will be saved in the AccountRight library folder.
on a server on your network
If you have a network computer that has AccountRight Server Edition installed on it, do this:
Select the Locally option and then click Change Location. The Library Browser window appears.
Select the network location you want to save the file in.
If the library location does not appear in the list, click Add a network library.
Enter the AccountRight server’s name or IP address, and give the library a nickname (this is handy if you have several servers).
If you don’t know the server’s name, go to the Windows control panel on the server and select the System option.Click OK.
Click Create Company File.
online
To save your file online now, do this (you can choose to upload the file later if you're not ready to do this now):
Select the Online option.
Click Create Company File. If you are not signed in to your MYOB account, a message appears prompting you to sign in.
Click Sign in and enter your MYOB account details. Your sign in details were set up when you purchased AccountRight.
Click OK.
After the company file is created, the Conclusion window appears.
If you want to continue setting up your company file, click Easy Setup Assistant. Otherwise click Command Centre to display the Command Centre window.


If you saved your new company file online, and you want your accountant or bookkeeper to finish setting up your company file, invite them as a company file user and give them online access. For more information, see Invite a user to an online file.
Creating a company file FAQs
How do I change the last month of a financial year?
You can change the last month of your next financial year when you close the financial year and start a new one.

You should only do this after the end of your current financial year. So if you want to change to a January - December financial year from a July - June financial year, you should do it after 30th June. Changing to the January - December financial year before the end of June will prevent you from being able to enter transactions until January of the next year.
How do I change the conversion month in my company file?
Once you have created a company file, the conversion month can't be changed. You'll need to create a new company file and specify the correct conversion month.

Is your company file online?
If your AccountRight subscription only permits a single active file stored online, contact us and we'll remove the file from the cloud so you can upload the new file in its place. Just contact product support (on the Contact Us page, click the chat button at the bottom or scroll down for other options).
Can I create a new company file by importing from another company file?
You can create a new company file then populate it by importing data that has been exported from another company file. But it's important that the data is imported in the correct order to help avoid errors.
Depending on the type of data you will import here's the order to follow along with some tips.
1 | Accounts | We recommend you don't import balances. Instead, after you import the accounts and before you import any other data, manually enter the account opening balances. |
2 | Tax Code List | Import Non-Consolidated codes before Consolidated Codes. |
3 | Cards | If your customer cards include a linked Salesperson, import your employee cards first. |
4 | Jobs | If you use Jobs in any of your transactions, import these before the transactions. |
5 | Items, Activities and then Activity Slips | If and after you import items, then use Count Inventory to enter your item quantities and values as at the new company file's conversion date. |
6 | Purchases and Sales | Import item purchases before importing item sales. If you include the Paid Today field when you export the purchase/sale details it will automatically create the pay bill/receive payment details when you do the import. However the payment amount will import as at the invoice date and not the actual payment date. This means after the import you may need to edit the payment and manually change the payment date. |
7 | Disbursements and Receipts | Import both Spend Money and Receive Money transactions. You can't export Pay Bills or Receive Payment transactions from your MYOB software therefore you can't import these transactions separately. |
8 | General Journals |
|