AccountRight comes with default invoice forms which you can customise to change the look and feel and modify what's displayed. | HTML |
|---|
<iframe width="560" height="315"
src="https://www.youtube.com/embed/zNFgTyBGq3k?rel=0" frameborder="0"
allowfullscreen align="right"></iframe> |
You can use one invoice form for all your sales or have separate forms for invoices, quotes and orders. You can also create different versions of an invoice form depending on what you're selling or who you're selling to. OK, let's step you through it. | UI Expand |
|---|
| title | To customise an invoice |
|---|
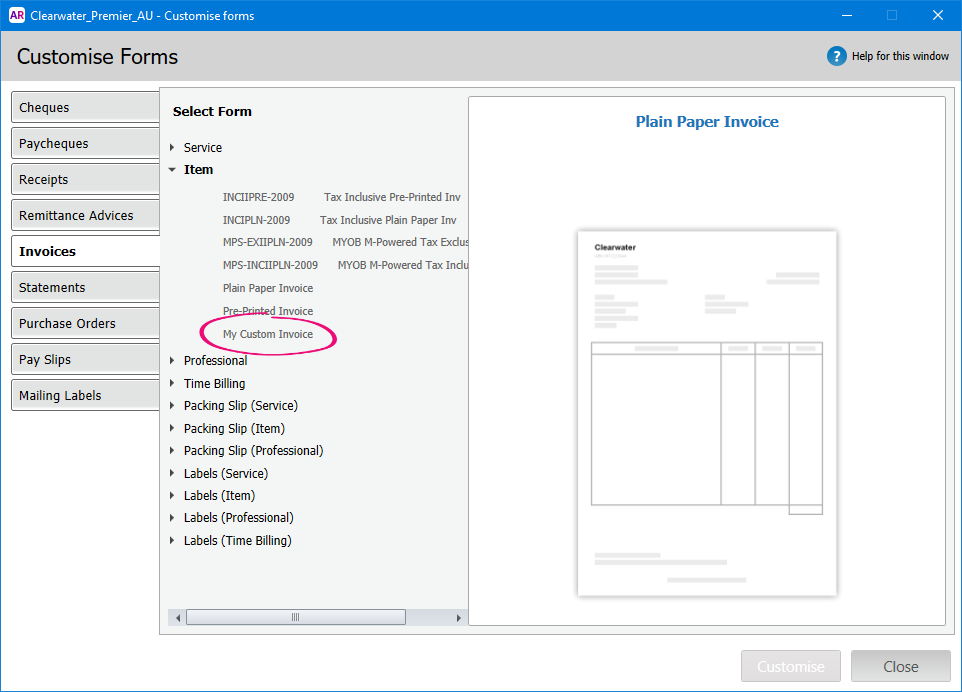
| To customise an invoice- Go to the Setup menu and choose Customise Forms. The Customise Forms window appears.
- Click the Invoices tab on the left.
- Select the form you want to customise then click Customise. The form opens, ready to be modified.
(click to enlarge)
 Customise the form to suit your needs. Here's some guidance: To preview your form, click the Print Preview tab. - When you've finished customising your form, go to the File menu and click Save As. The Save Form As window appears:
- Enter a name and a description for the form.
- Click Save then click OK to the confirmation message.
To close the form, go to the File menu and choose Exit. If prompted to save again, click No.
The Form window reappears. Your customised invoice will be listed. (click to enlarge)
|
| UI Expand |
|---|
| title | To use your customised invoice |
|---|
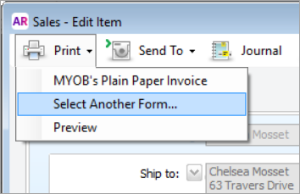
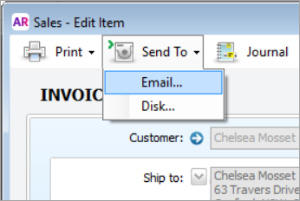
| When you print or email an invoice, you can choose which form to use. |
| UI Expand |
|---|
| title | To set a customer's default invoice form |
|---|
| If you have different invoice forms for different customers, you can set the default form to use in the customer's card. To set the default form to use for all customers, see Set the default forms to use when emailing or printing. To set a customer's default form - Go to the Card File command centre and click Cards List.
- Click the Customer tab.
- Click the zoom arrow to open the customer's card.
- Click the Selling Details tab.
- In the Printed Form field, select the customised invoice for this customer.

If you can't see your customised form, make sure the applicable Sale Layout is selected. - Click OK.
|
| 


 Yes
Yes
 No
No
 Thanks for your feedback.