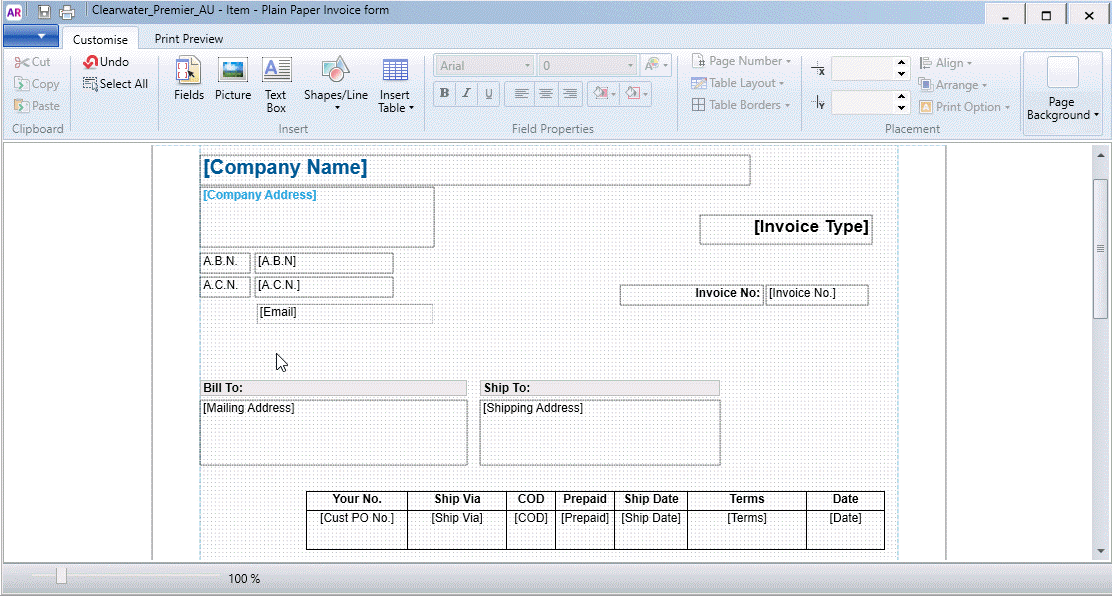
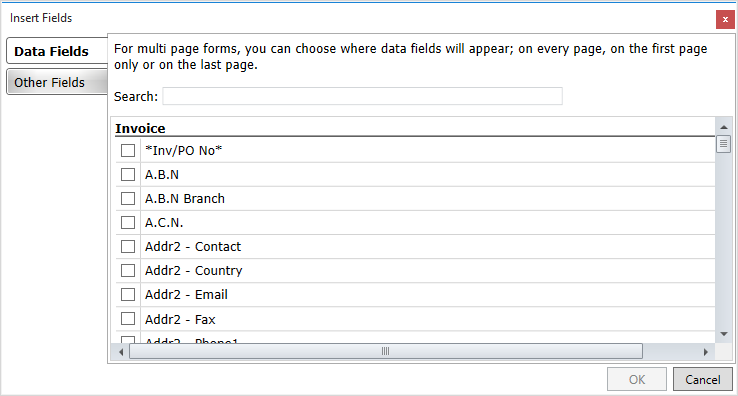
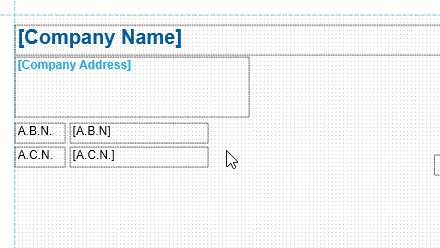
How do I add my accepted payment methods to my invoices?To display your accepted payment methods on your invoices, you can add a text field which contains this info. See Personalising invoices for details. Or, you can create a comment containing your accepted payment methods, then choose this comment when recording your sale. You can also modify your invoice form to ensure the comment field is sized and positioned according to its content, for example you can position the comment field at the bottom of the invoice and enlarge the field to span the page. Whichever method you use, make sure you select the modified form (containing your accepted payment methods) when you email or print your invoices. | 


 Yes
Yes
 No
No
 Thanks for your feedback.