
- Created by TaliS, last modified by AdrianC on Aug 09, 2023
https://help.myob.com/wiki/x/djvnAQ
How satisfied are you with our online help?*
Just these help pages, not phone support or the product itself
Why did you give this rating?
Anything else you want to tell us about the help?
Online company files only
Meet your compliance requirements and go paperless by attaching documents to your bills and spend money transactions. You can do this from the In Tray, or from within the transaction itself.
You can attach PDF, TIFF, JPEG or PNG file types, and the files must be less than 10MB in size.
Let's take you through the details:
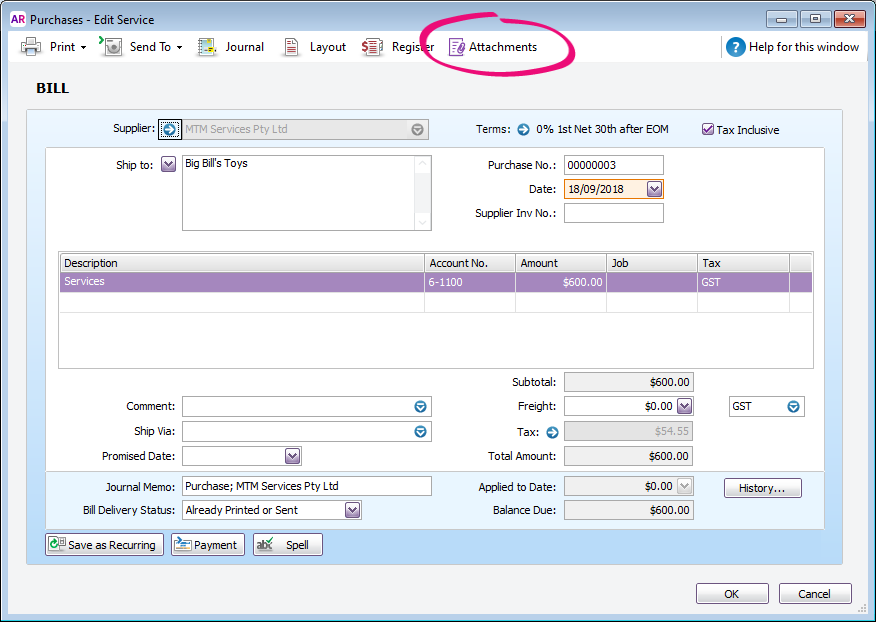
To attach a document to a bill
- In your online company file, open a bill. You can do this by either:
- recording a new bill (Purchases > Enter Purchases), or
- opening an existing bill (Purchases > Purchases Register > click the applicable tab > click the zoom arrow to open the bill).
Click Attachments.
Can't see the Attachments button? Your file needs to be online and you must be using AccountRight 2019.4 or later to use this feature.
- Attach the document. You can either:
- Click Add Documents to locate and select the document.
- Click and drag a document into the Bill Attachments window.
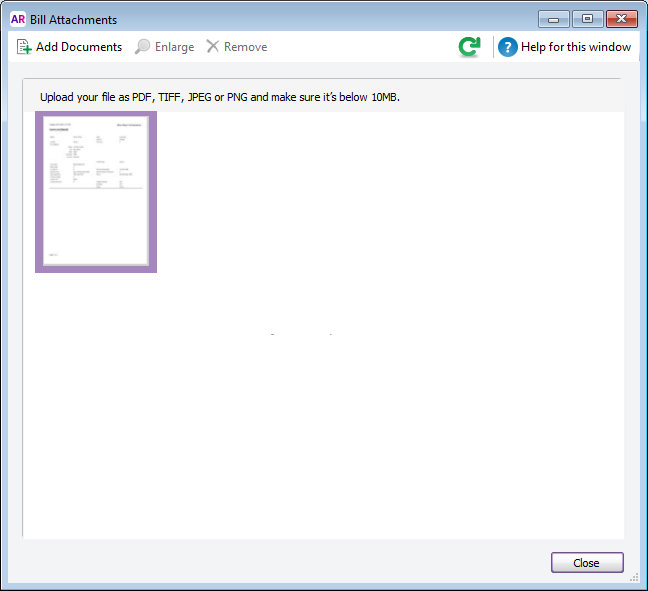
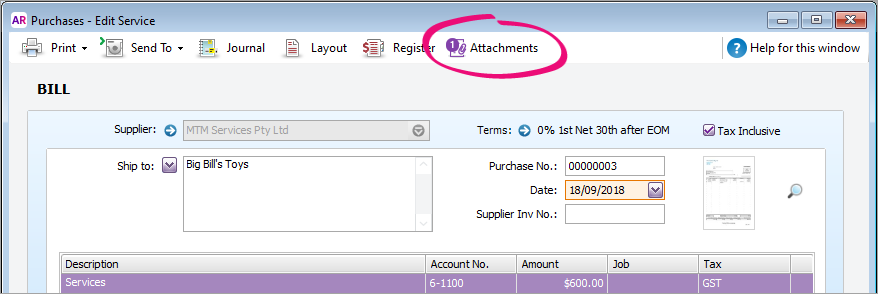
- Click Close to close the Attachments window. The Attachments button now shows you have 1 attachment added.
- Click Record to save the changes.
Use the Purchases Register to quickly see which bills have attachments.

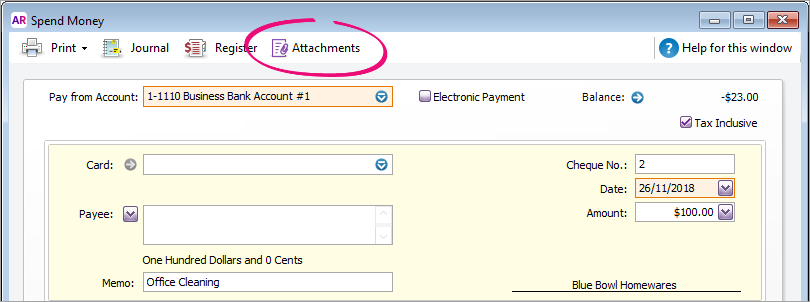
To attach a document to a spend money transaction
- In your online company file, open the Spend Money window. You can do this by either:
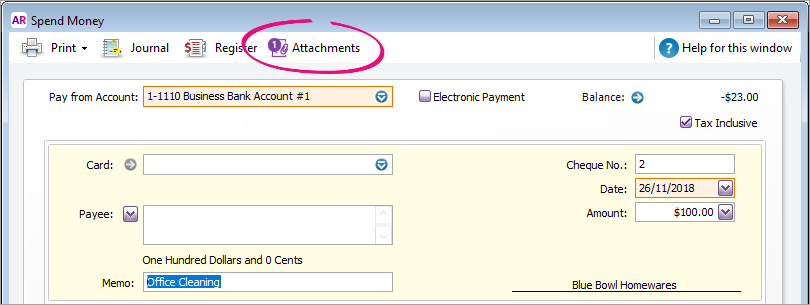
- recording a new Spend Money transaction (Banking > Spend Money), or
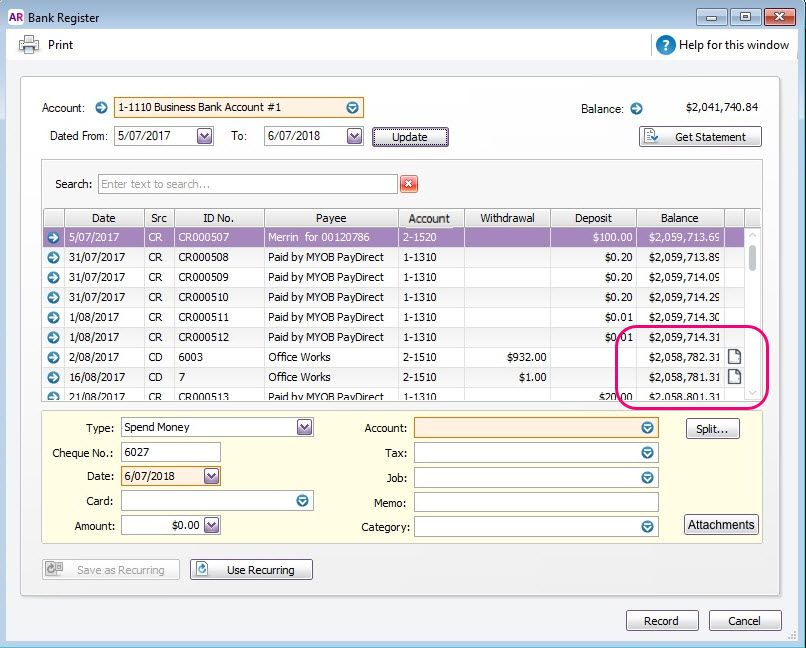
- opening an existing Spend Money transaction (Banking > Bank Register > click the zoom arrow to open the transaction).
Click Attachments.
Can't see the Attachments button? Your file needs to be online and you must be using AccountRight 2018.4 or later to use this feature.
- Attach the document. You can either:
- Click Add Documents to locate and select the document.
- Click and drag a document into the Spend Money Attachments window.
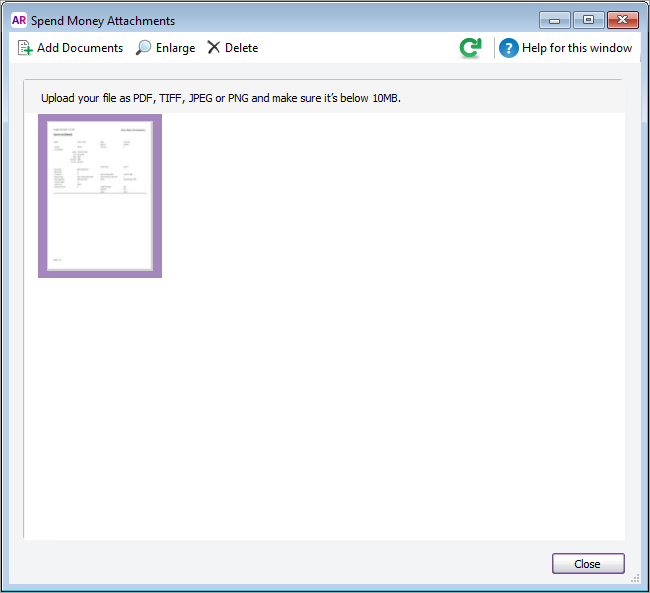
- Click Close to close the Spend Money Attachments window. The Attachments button now shows you have 1 attachment added.
- Click Record to save the changes.
Use the Bank Register to quickly see which spend money transactions have attachments.
To view, save or print an attachment
- In your online company file, open the transaction.
- To open a bill, go to Purchases > Purchases Register > click the applicable tab > click the zoom arrow to open the bill.
- To open a spend money, go to Banking > Bank Register > click the zoom arrow to open the transaction.
- Click Attachments.
Click the attachment then click Enlarge. The Enlarged window opens displaying the attachment.

If you want to... Do this... save the attachment Click the Save
 button and choose where to save the file.
zoom in or out Use the zoom buttons
 .
.print the attachment Save the attachment, then open the saved attachment to print it.
Use the Purchases Register to quickly see which bills have attachments, or the Bank Register to see spend money transactions with attachments.
To remove an attachment
Removing an attachment will unlink it from the transaction and send it back to the In Tray. If you like, you can then attach it to another transaction or delete it permanently.
- In your online company file, open the transaction.
- To open a bill, go to Purchases > Purchases Register > click the applicable tab > click the zoom arrow to open the bill.
- To open a spend money, go to Banking > Bank Register > click the zoom arrow to open the transaction.
- Click Attachments.
- Click the attachment to be removed then click Delete. The document is unlinked from the transaction and returned to the In Tray.
Need to delete a document from the In Tray? See Working with In Tray documents.
 Yes
Yes
 No
No
 Thanks for your feedback.